Laser engraving is a popular technique for marking metal mark with precision and durability. However, there are times when you may need to remove or correct these engravings. This guide will walk you through the process of how to remove laser engraving from metal using a 30 watt fiber laser engraver, such as the Monport GA 30W Upgraded Integrated MOPA Fiber Laser Engraver & Marking Machine with Auto Focus - Machine. Let's dive in! how to remove laser engraving from metal.
Monport GA 30W Upgraded Integrated MOPA Fiber Laser Engraver & Marking Machine with Auto Focus - Machine
Why Remove Laser Engraving?
Common Reasons for Removal
- Errors in engraving: Mistakes or misspellings.
- Design changes: Updating logos or graphics.
- Repurposing items: Reusing materials for new projects.
Removing laser engraving is a delicate process that requires the right tools and techniques to avoid damaging the metal surface. Whether you're reusing an item or fixing a mistake, laser cutter files can also assist in creating new designs efficiently, helping you how to remove laser engraving from metal and correct metal marks.

Tools and Materials Needed
Essential Equipment
- 30 Watt Fiber Laser Engraver: Reliable and precise for the task.
- Protective Gear: Safety goggles and gloves.
- Cleaning Supplies: Isopropyl alcohol and a clean cloth.
Optional Tools
-
Masking Tape: To protect areas not to be re-engraved, ensuring that only the unwanted metal marks are removed.
-
Fine Sandpaper: For minor surface smoothing after learning how to remove laser engraving from metal.

Step-by-Step Guide
Step 1: Prepare Your Workspace
- Ensure the area is clean and well-ventilated.
- Wear protective gear to safeguard against laser exposure and metal particles.
Step 2: Set Up the Fiber Laser Engraver
- Turn on your 30 watt fiber laser engraver.
-
Load the metal piece onto the engraver's bed. Using laser cutter files can simplify the setup process for creating or modifying designs.
Step 3: Adjust Laser Settings
- Select the appropriate power and speed settings for your metal type.
- A lower power setting and slower speed can help gradually remove the engraving without damaging the metal.
Utilize laser cutter files to test and refine your engraving designs.
Step 4: Begin the Removal Process
- Start with a small test area to ensure the settings are correct.
-
Gradually increase the power or decrease the speed if the engraving is not being removed effectively. Referring to laser cutter files can provide additional guidance for precise adjustments.
Step 5: Clean and Inspect
- After laser removal, clean the metal surface with isopropyl alcohol to remove any residues.
- Inspect the area to ensure the engraving is completely removed and the surface is smooth.
Step 6: Additional Smoothing (if needed)
- If the surface is rough, lightly sand with fine sandpaper.
- Clean again to remove any sanding debris.

Important Tips
Safety First
- Always wear protective gear.
- Never look directly at the laser beam.
Precision Matters
- Adjust settings slowly to avoid over-removal.
-
Test on a small area first. Use laser cutter files to practice before working on the final piece.
Regular Maintenance
- Clean your laser engraver regularly to ensure optimal performance.

FAQ
-
Can I use a different type of laser engraver for removing engravings?
-
While other engravers may work, a 30-watt fiber laser engraver is ideal for precision and control. Laser cutter files can help you test the compatibility of other engravers.
-
-
Will removing the engraving damage the metal?
-
If done correctly, it should not damage the metal. Always start with lower power settings and test on a small area first.
-
-
How long does the removal process take?
-
The time varies depending on the size and depth of the engraving. It typically takes anywhere from a few minutes to an hour.
-
-
Can I reuse the metal after removing the engraving?
-
Yes! Once the engraving is removed, the metal surface is ready to be repurposed or re-engraved for new projects.
-
-
What should I do if the engraving is too deep to remove?
-
If the engraving is too deep, consider using fine sandpaper to smooth the surface, followed by re-engraving with your fiber laser engraver.
-

Takeaways
-
Preparation and Safety: Essential for successful removal of metal marks.
-
Proper Settings: Key to avoiding damage while learning how to remove laser engraving from metal.
- Regular Cleaning: Keeps your equipment in top shape.

Conclusion
Learning how to remove laser engraving from metal is a precise task that can be effectively achieved using a 30-watt fiber laser engraver. By following the steps and tips outlined in this guide, you can ensure a clean and smooth surface ready for new engravings or repurposing after removing metal marks.

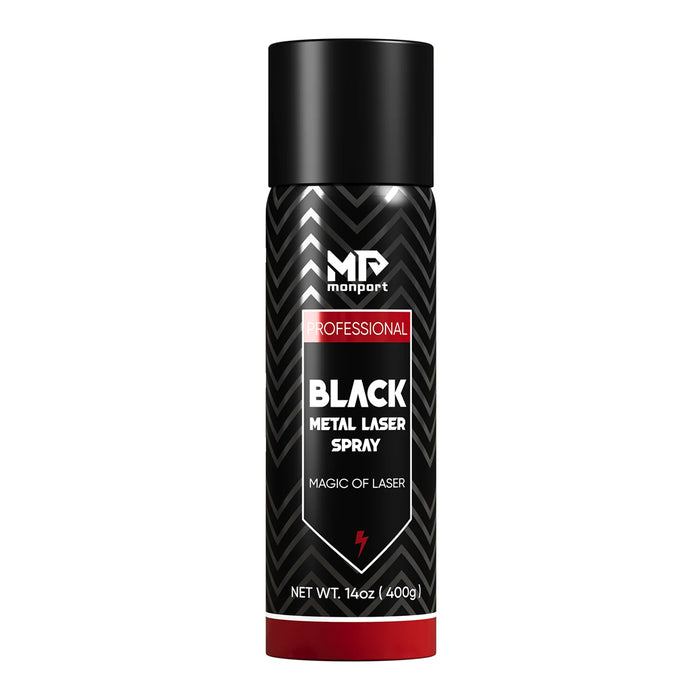
Enhance Your Metal Engraving with Monport Black Laser Marking Spray

Monport black laser marking spray is designed to provide sharp, high-contrast markings on a variety of metals, including aluminum, brass, and stainless steel. When used with CO2 laser engraving machines, this black laser marking spray ensures a smooth, even application that delivers long-lasting, permanent marks. The quick-drying formula of this spray helps maintain a fast-paced workflow, allowing the markings to dry in just minutes. With its easy-to-use design, Monport black laser marking spray creates professional-grade results for any metal engraving project. Whether you’re customizing tools, jewelry, or industrial parts, this black laser marking spray will ensure your creations stand out with exceptional precision and clarity.
Ready to elevate your engraving game? Use BESTMP12 at checkout – click here to shop now!


