How to
A Comprehensive Guide: How to Laser Engrave a Photo on Acrylic and Plastic Engraving
Laser engraving technology offers incredible opportunities for creating personalized and intricate designs on various materials. By learning how to laser engrave a photo on acrylic and mastering plastic engraving, you can bring your creative ideas to life with precision and detail.
Read moreHow to
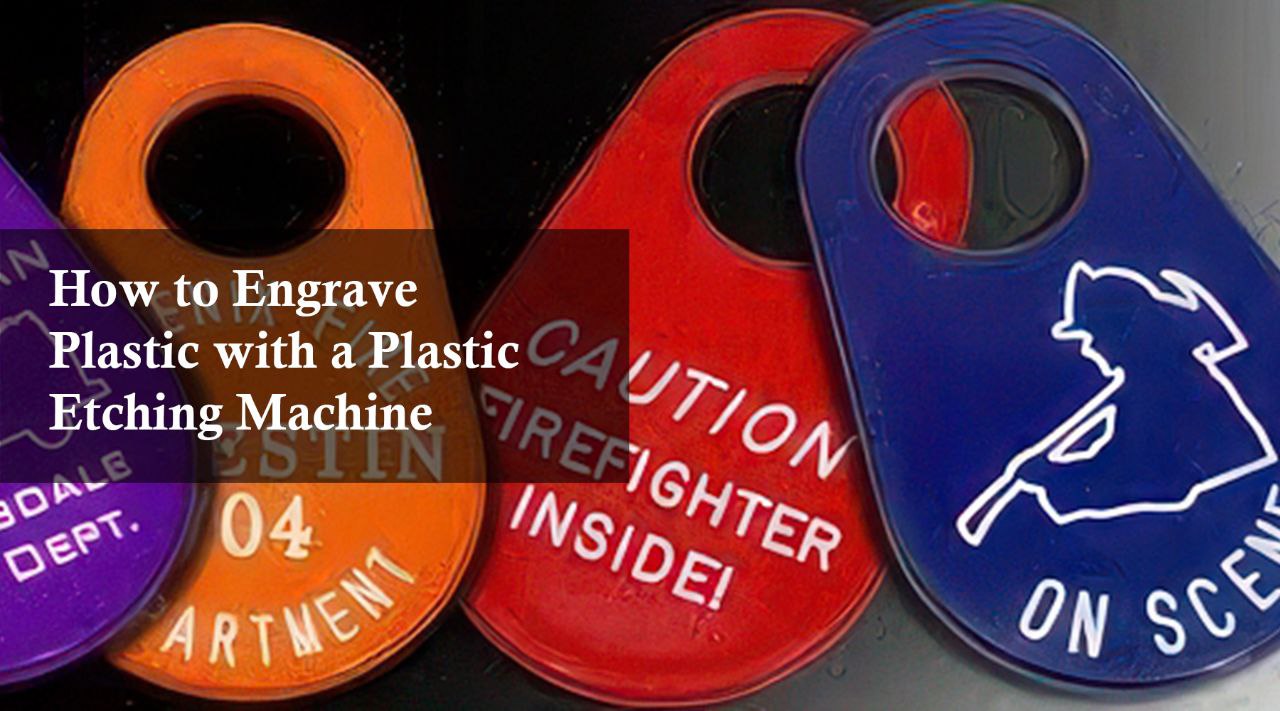
How to Engrave Plastic with a Plastic Etching Machine
Unlock your creativity & transform plastic! This beginner's guide teaches you how to engrave plastic with a CO2 laser. Discover the Monport ONYX-55W Desktop CO2 Laser - perfect for crafters & entrepreneurs. Create unique keychains, phone cases, signs & more!
A Guide to Projects and Ideas with Glass Etching
Glass etching is a timeless craft that has been elevated by modern laser engraving technology. Whether you’re a beginner wondering how to do glass etching or an experienced artisan looking for new project ideas, the Monport 100W CO2 laser engraver offers the precision and versatility needed to achieve stunning results.
Tips and Tricks: Cutting Polycarbonate Sheets with CO2 Laser Technology
Understanding how do you cut polycarbonate sheets effectively is crucial for achieving precise and clean results. Utilizing a CO2 laser cutting machine like the Monport ONYX 55W Desktop CO2 Laser Engraver can simplify the process and deliver exceptional outcomes. With its powerful performance, user-friendly features, and versatility, the ONYX 55W is an excellent choice for both hobbyists and professionals.
Mastering the Art of Laser Engraving: Creating Unique Business Cards with Brass
In today's competitive business world, first impressions are crucial. One of the most innovative ways to make a lasting impression is by using laser engraved business cards. This guide will walk you through the process of creating stunning business cards and the steps on how to laser engrave brass using the Monport GI 30W Integrated MOPA Fiber Laser Engraver & Marking Machine with Electric Lifting. Monport GI 30W Integrated MOPA Fiber Laser Engraver & Marking Machine with Electric Lifting - Machine Why Choose Laser Engraved Business Cards? Laser engraved business cards stand out due to their precision and elegance. Unlike traditional printing methods, laser engraving provides a high level of detail and a tactile element that can impress potential clients and partners. Using a small laser cutter ensures even more precise results, making your business cards truly unique. Benefits of Laser Engraved Business Cards Durability: Engraved designs last longer and are resistant to wear and tear. Elegance: The engraving process creates a sophisticated and professional appearance. Customization: Endless possibilities for personalizing designs using a small laser cutter. How to Laser Engrave Brass for Business Cards Engraving brass requires specific steps to ensure a flawless finish. Below is a step-by-step guide to help you achieve the best results with a small laser cutter. Step 1: Gather Your Materials To get started, you'll need the following materials and equipment: Brass sheets Monport GI 30W Integrated MOPA Fiber Laser Engraver & Marking Machine with Electric Lifting Design software (such as CorelDRAW or Adobe Illustrator) Safety gear (gloves, safety glasses) Step 2: Prepare Your Design Create your business card design using design software. Ensure that your design fits within the dimensions of the brass sheet. The Monport GI 30W is compatible with various file formats, making it easier to upload your design. Step 3: Set Up the Engraver Power On the Machine: Connect the Monport GI 30W to a power source and turn it on. Load the Brass Sheet: Securely place the brass sheet on the engraving bed. Adjust the Focus: Use the electric lifting feature to adjust the laser's focus to the brass sheet's surface. Step 4: Engraving Process Upload Your Design: Transfer your design file to the laser engraver. Set Engraving Parameters: Adjust the settings for speed, power, and frequency. Refer to the machine’s manual for recommended settings for brass. Start Engraving: Begin the engraving process and monitor it closely to ensure precision. Step 5: Finishing Touches Once the engraving is complete, carefully remove the brass sheet. Clean the engraved areas with a soft cloth to remove any residue. Using a small laser cutter, you can add final refinements for a polished look. Tips for Optimal Engraving Perform a test run on a scrap piece of brass to fine-tune settings. Ensure the brass sheet is flat and secure to avoid misalignment. Use appropriate ventilation to avoid inhaling fumes. FAQs about Laser Engraving Brass Business Cards What types of designs work best for laser engraving on brass? Simple, high-contrast designs with bold lines and clear text yield the best results. Intricate details may require fine-tuning of the laser settings. How do I maintain my laser engraved business cards? Keep them clean and dry. Avoid exposure to harsh chemicals that could tarnish the brass. Can I use other metals with the Monport GI 30W? Yes, the Monport GI 30W is versatile and can engrave other metals like aluminum and stainless steel, but always refer to the machine’s guidelines for specific materials. What safety precautions should I take? Always wear safety gear, ensure proper ventilation, and follow the manufacturer's safety instructions. Important Details About the Monport GI 30W Integrated MOPA Fiber Laser Engraver Key Features Electric Lifting: Easily adjust the focus for various material thicknesses. High Precision: Delivers detailed and accurate engravings. Versatility: Compatible with multiple materials and various design software. Specifications Feature Description Power 30W Laser Type MOPA Fiber Working Area 110mm x 110mm File Compatibility DXF, PLT, BMP, AI, etc. Focus Adjustment Electric lifting mechanism Pros and Cons Pros Cons High precision and detail Initial setup can be complex Versatile material compatibility Requires safety precautions Durable and long-lasting Higher initial investment Takeaways Precision: The Monport GI 30W offers unparalleled precision, ideal for creating detailed business cards. Customization: Endless possibilities for unique designs that stand out. Durability: Laser engraved business cards are more durable than traditional printed cards. Conclusion Creating laser engraved business cards using brass not only enhances your professional image but also offers durability and a touch of elegance. By following the steps on how to laser engrave brass, you can produce impressive business cards that leave a lasting impression. The Monport GI 30W Integrated MOPA Fiber Laser Engraver & Marking Machine with Electric Lifting is an excellent tool for this purpose, offering precision and versatility. Pairing it with a small laser cutter ensures the finest details are achieved. Invest in this technology to elevate your branding and make a memorable impact.
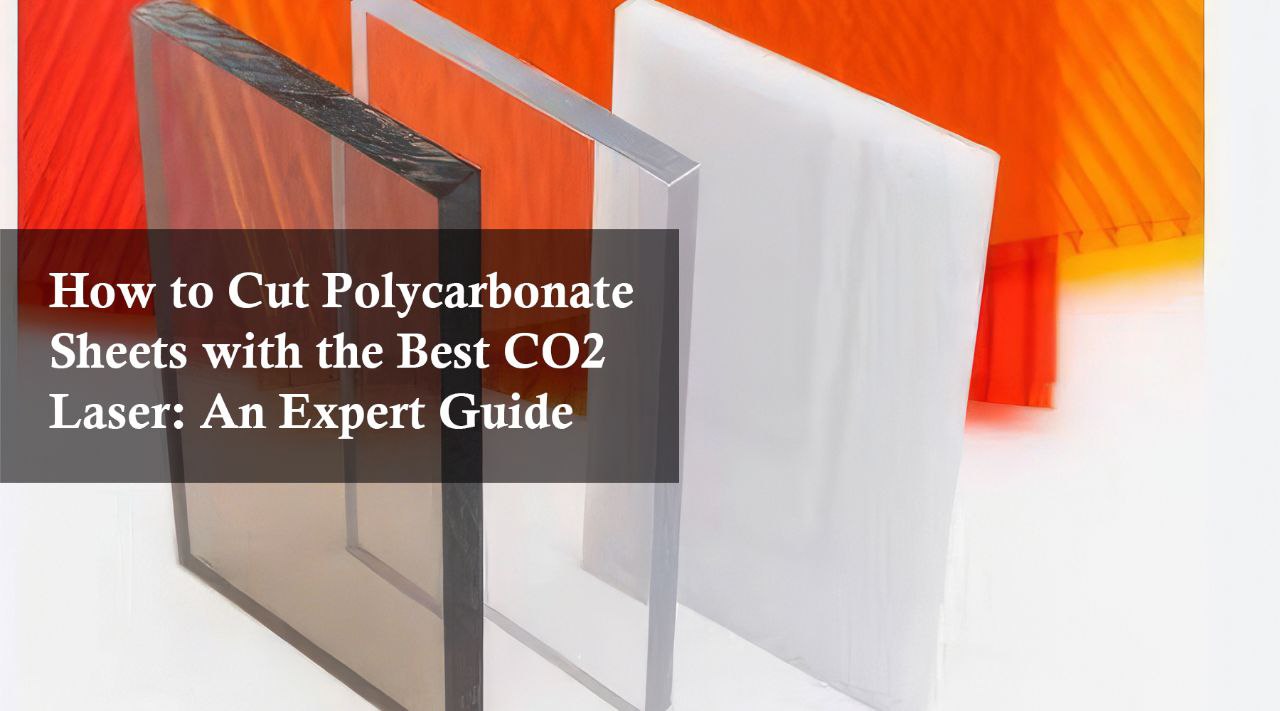
How to Cut Polycarbonate Sheets with the Best CO2 Laser: An Expert Guide
Unleash the power of best CO2 lasers for cutting polycarbonate sheets! Our guide dives into ideal settings, material properties & advantages of laser cutting. Discover clean edges, minimal heat distortion & a world of creative possibilities. Craft with confidence & precision!
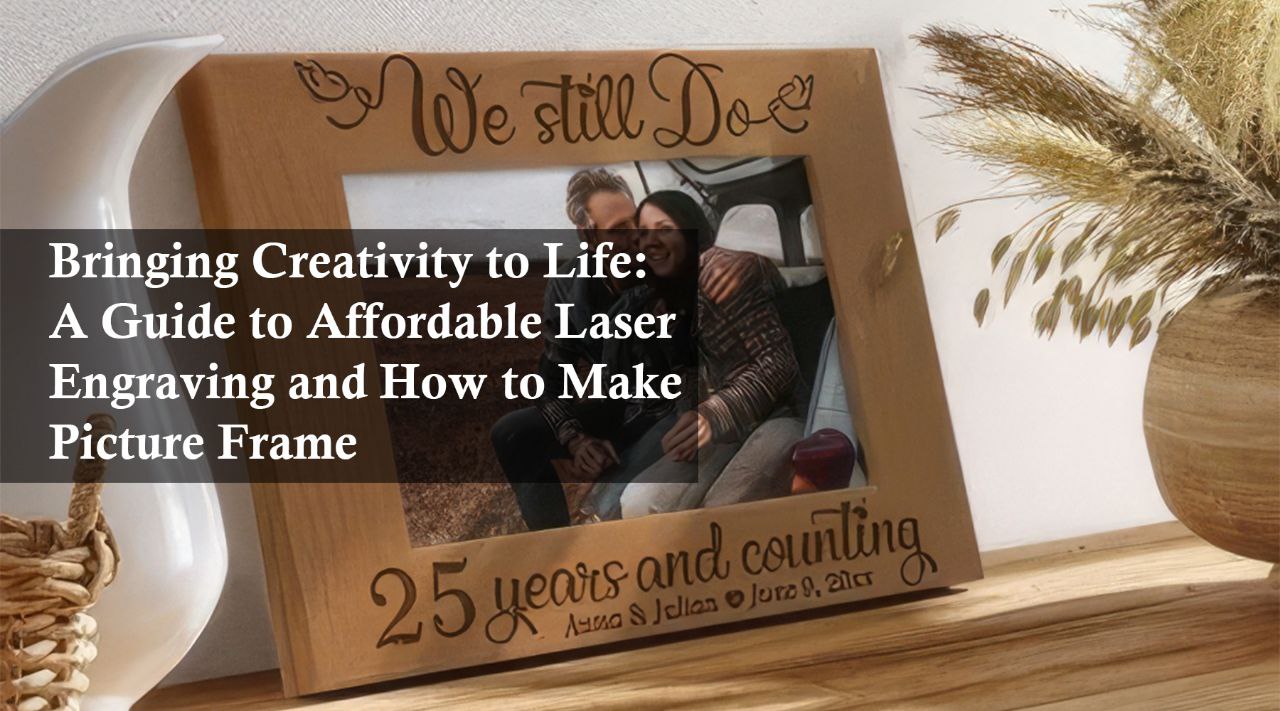
Bringing Creativity to Life: A Guide to Affordable Laser Engraving and How to Make Picture Frame
Craft unique picture frames & explore the world of inexpensive laser engraving machine! This guide inspires you to personalize keepsakes, add a special touch to gifts & bring memories to life. Discover DIY ideas & tips for using an inexpensive laser engraver to create one-of-a-kind masterpieces. From meaningful messages to intricate designs, express yourself & celebrate life's moments with a touch of magic!
Metal Laser Engraving: A Guide to Laser Engraving Tools for Metal and How To Clean Laser Engraved Metal
Unleash the power of laser engraving for metal! This guide covers choosing the right laser engraving tool for metal, cleaning techniques & fiber laser maintenance. Keep your engravings pristine & your laser running smoothly.
How to Imprint Leather: A Guide to Creating Stunning Laser Engraved Wallets
Discover how to imprint leather and create stunning laser engraved wallets with our step-by-step guide. Learn the process using the Monport 60W CO2 Laser Engraver & Cutter. Achieve professional results with detailed tips and FAQs. Check out our special offer to elevate your leather crafting skills today!
From Memories to Masterpieces: Laser Engraving Photographs and Custom Skateboards
Laser engraving photographs and custom skateboards exemplifies the blend of technology and artistry, allowing individuals to transform their creative ideas into tangible masterpieces. Whether preserving memories through etched photographs or showcasing unique style with custom skateboards, laser engraving provides a durable, precise, and personalized solution.
The Art of Laser Engraving: A Guide to Laser Engraving Pictures and QR Codes
Unlock the power of laser engraving! This blog explores laser engraving pics & laser engraving QR codes for personalization & information sharing. Discover the Monport GQ 30w Fiber Laser - ideal for precise images & durable QR codes on various materials. Get started with laser engraving & unleash your creativity!
How to Engrave a Photo Frame and Capture Lasting Memories
Make memories last! This guide explores photo frame engraving & unlocks the power of laser engraving machines. Find inspiration for personalized gifts, home decor & more. The Monport 80w CO2 laser engraver offers user-friendly operation, safety features & versatility for beginners & professionals alike.
How to Create Stunning Laser Engraved Cups and Mugs with the Monport 80W CO2 Laser Engraver
Looking to create personalized laser engraved cups and mugs? The Monport 80W CO2 Laser Engraver & Cutter (24" x 16") with Autofocus is the perfect tool for the job. This guide covers setup, design tips, and engraving steps to help you produce stunning, high-quality drinkware. Perfect for gifts or business!


