


Laser engraving photos is a creative way to turn meaningful memories into personalized gifts, decorative pieces, and products to sell. If you're learning how to laser engrave a photo, the process starts with choosing a clear image, preparing the artwork, selecting a compatible material, and adjusting the engraving settings.
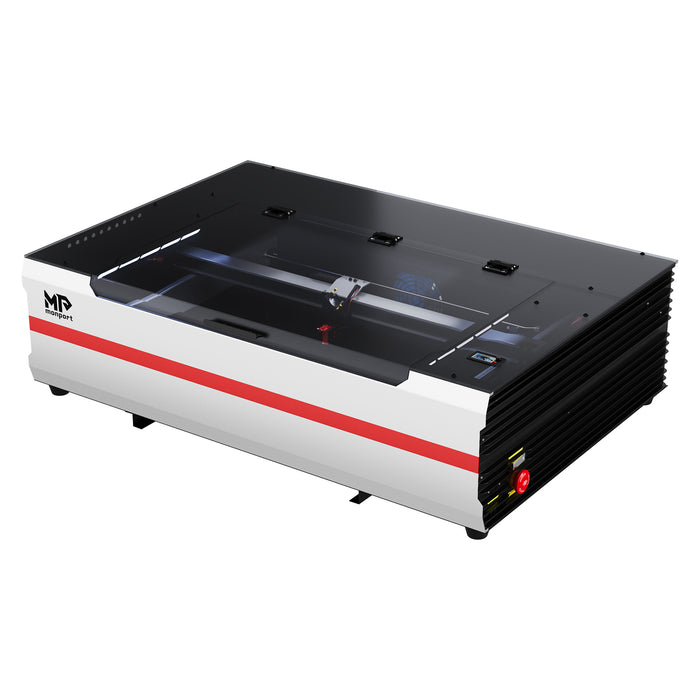
A laser engraver for photos can reproduce portraits, family pictures, and custom designs on suitable surfaces, including wood and certain acrylics. The Monport Reno65 65W Desktop CO2 Laser Engraver & Cutter, with its 24 x 16-inch working area and magnetic-assisted autofocus, provides space for creating individual photo gifts or multiple personalized items in one project.
In this guide, you'll learn how to prepare and engrave photos, choose suitable materials, and explore practical laser engraving gift ideas for personal projects or a small business.

How to Laser Engrave a Photo
1. Choose a High-Quality Photo
Start with a clear, high-resolution photograph. Images with recognizable subjects and distinct light and dark areas are often easier to prepare for laser engraving.
Portraits, family photographs, pet pictures, and memorable occasions are popular choices for personalized gifts. Avoid images with excessive blur, very low contrast, or too many distracting background details.
2. Prepare the Photo for Laser Engraving
Image preparation is one of the most important steps in laser engraving photos. A photograph that looks good on a screen may need adjustments before it produces a clear engraving.
-
Convert to grayscale: Create a black-and-white version to simplify tonal adjustments.
-
Adjust brightness and contrast: Make important facial features and background details easier to distinguish.
-
Crop and resize: Fit the photograph to the dimensions of your chosen material.
-
Apply dithering when appropriate: Dithering converts tonal information into patterns of dots, which can help reproduce photographic detail on certain materials.
-
Preview the result: Use your engraving software's image-processing options to inspect the prepared design before running the job.
For best results, test different image-processing methods on scrap material before engraving the final gift.
3. Choose the Right Material
The material affects the appearance, contrast, and detail of your laser-engraved photo gifts. Choose a surface compatible with your CO2 laser and suitable for photographic engraving.
| Material | Potential project | Important consideration |
|---|---|---|
| Wood | Photo plaques, portraits, and keepsakes | Light-colored, consistent wood can produce attractive contrast. |
| Compatible acrylic | Personalized photo displays and decorative pieces | Results vary by acrylic type; confirm CO2 laser compatibility. |
| Glass | Decorative photo pieces and personalized gifts | Test the engraving method because results depend on the glass and setup. |
| Coated metal | Personalized tags and decorative items | Confirm that the coating and process are compatible with the machine. |
Important: A CO2 laser is not a universal solution for every material. Bare metals generally require a different laser type or a specifically compatible marking process. Never process unidentified plastics or materials that may release hazardous fumes.
4. Set Up the Monport Reno65 65W CO2 Laser Engraver
The Monport Reno65 65W Desktop CO2 Laser Engraver & Cutter offers several features that can support photo engraving and personalized gift production.
-
65W laser power: Provides the machine's rated laser output for compatible engraving and cutting applications.
-
24 x 16-inch working area: Measures 600 x 400 mm, allowing room for larger photo plaques or multiple smaller projects.
-
Magnetic-assisted autofocus: Helps simplify focusing when used according to the manufacturer's instructions.
-
Maximum engraving speed of 500 mm/s: Provides a stated maximum speed; actual photo engraving speed depends on the material, image, and settings.
-
Adjustable air assist: Allows airflow to be adjusted for different processing requirements.
-
Dual workbed options: Includes honeycomb and blade workbeds for different compatible workpieces.
-
Multiple data connections: Supports USB cable, Wi-Fi, and U-disk transmission.
The machine has a maximum resolution specification of 1000 dpi. Actual image detail depends on the artwork, material, software configuration, and operating conditions.
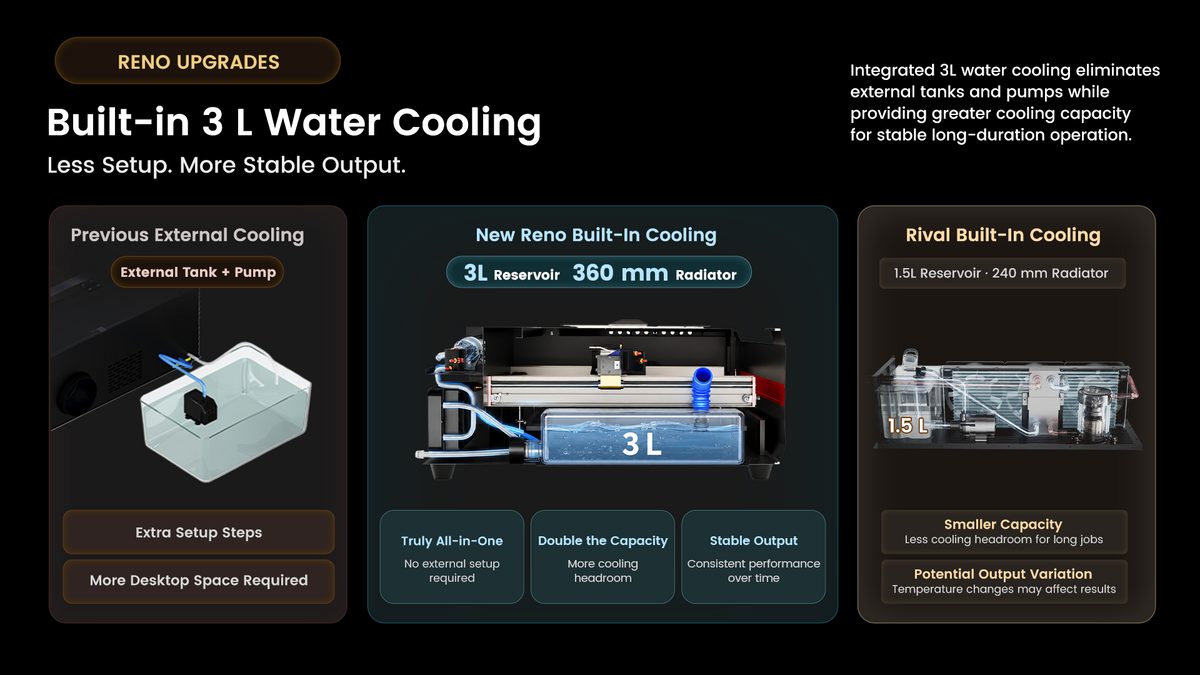
Before starting, ensure the machine is correctly installed, the exhaust and cooling systems are operating as required, and the workpiece is securely positioned.
5. Configure the Engraving Settings
Open compatible engraving software and import your prepared photograph. The Reno65 supports LightBurn and LaserGRBL according to the supplied specifications.
Position the image within the working area and select the appropriate image-processing mode. Set the speed, power, and other relevant parameters according to the manufacturer's recommendations for the material.
The correct settings vary with the surface and desired appearance. Do not assume that the same settings will work for every type of wood, acrylic, or glass.
6. Test and Engrave the Photo
Run a small test on a scrap piece of the same material whenever possible. Inspect the contrast, detail, and surface finish, then adjust the settings if necessary.
Once the test is satisfactory, secure the final material and begin engraving. Monitor the process, maintain appropriate ventilation, and follow all required laser safety procedures. Never leave the machine operating unattended.
After engraving, allow the workpiece to cool before handling it. Clean the surface using a method suitable for the material, and apply a compatible protective finish if needed.
Creative Laser Engraving Gift Ideas

Once you understand how to laser engrave a photo, you can create personalized items for birthdays, anniversaries, holidays, and other special occasions.
1. Personalized Photo Frames
Create a wooden frame featuring an engraved portrait, family name, or meaningful date. Combining a photograph with personalized text can make a simple frame feel more distinctive.
2. Custom Keychains
Small photo keychains make practical keepsakes. Choose a compatible material and ensure the design remains readable at the intended size.
3. Personalized Photo Albums
Engrave a favorite photograph, name, or date onto a compatible album cover. This works particularly well for wedding albums, travel memories, and family collections.
4. Engraved Jewelry and Accessories
Create personalized pendants, tags, or suitable coated-metal accessories featuring portraits, initials, or small symbols. Verify material compatibility before choosing the engraving method.
5. Decorative Glass Gifts
Personalized glassware and decorative glass pieces can make memorable gifts. Test the process on a sample first because glass types and engraving techniques produce different finishes.
6. Wooden Photo Plaques
Wooden photo plaques are suitable for family portraits, pet photographs, commemorative gifts, and personalized home décor. A larger work area can also help when producing several plaques in one batch.
Tips for Better Laser-Engraved Photos

To improve your laser engraving photo projects, focus on preparation and repeatable testing.
-
Start with a clear photograph: Good source images make editing easier.
-
Prepare the image carefully: Adjust grayscale, contrast, and dithering to suit the material.
-
Choose compatible surfaces: Different materials respond differently to a CO2 laser.
-
Test before production: Use scrap material to evaluate image quality and settings.
-
Secure the workpiece: Prevent movement that could affect alignment.
-
Maintain the equipment: Follow the manufacturer's cleaning, cooling, ventilation, and maintenance instructions.
-
Prioritize safety: Use the required enclosure, interlocks, exhaust, and protective measures. Stop immediately if unsafe conditions occur.
Frequently Asked Questions
1. What is the best photo for laser engraving?
A clear, high-resolution photograph with recognizable subjects and good contrast is a useful starting point. Image editing may improve the result before engraving.
2. Can a CO2 laser engrave photographs on wood?
Yes, a properly configured CO2 laser can engrave photographs on suitable wood. Results depend on the wood's consistency, image preparation, focus, and settings.
3. Can the Monport Reno65 engrave photos on metal?
The Reno65 is a CO2 laser, so it should not be assumed to engrave bare metal directly. Its suitability depends on the material and any compatible marking process or coating. Verify the manufacturer's guidance before proceeding.
4. What software can I use with the Reno65?
The supplied specifications list LightBurn and LaserGRBL as compatible software. Confirm the appropriate software configuration and connection method for your machine before starting.
5. Can laser-engraved photo gifts become a small business?
Yes. Personalized photo plaques, frames, and other compatible products can form part of a small business. Calculate material costs, production time, packaging, equipment expenses, and selling fees before setting prices.
Key Takeaways
-
Learning how to laser engrave a photo begins with image preparation and material selection.
-
Grayscale conversion, contrast adjustments, and appropriate dithering can improve photographic results.
-
The Monport Reno65 provides a 600 x 400 mm working area, 65W rated power, and magnetic-assisted autofocus.
-
Always test settings and confirm material compatibility before engraving.
-
Personalized photo frames, wooden plaques, and decorative keepsakes offer creative gift possibilities.
Conclusion
Learning how to laser engrave a photo allows you to transform meaningful photographs into personalized gifts, decorative pieces, and potential business products. With careful image preparation, suitable materials, and tested settings, you can develop distinctive laser engraving gift ideas for different occasions.
The Monport Reno65 65W Desktop CO2 Laser Engraver & Cutter combines a 24 x 16-inch working area, magnetic-assisted autofocus, adjustable air assist, and a maximum stated engraving speed of 500 mm/s. These specifications provide a useful starting point for exploring compatible photo engraving projects. Whether you are creating a single keepsake or developing a collection of personalized gifts, focus on image quality, material compatibility, consistent results, and safe operation.


