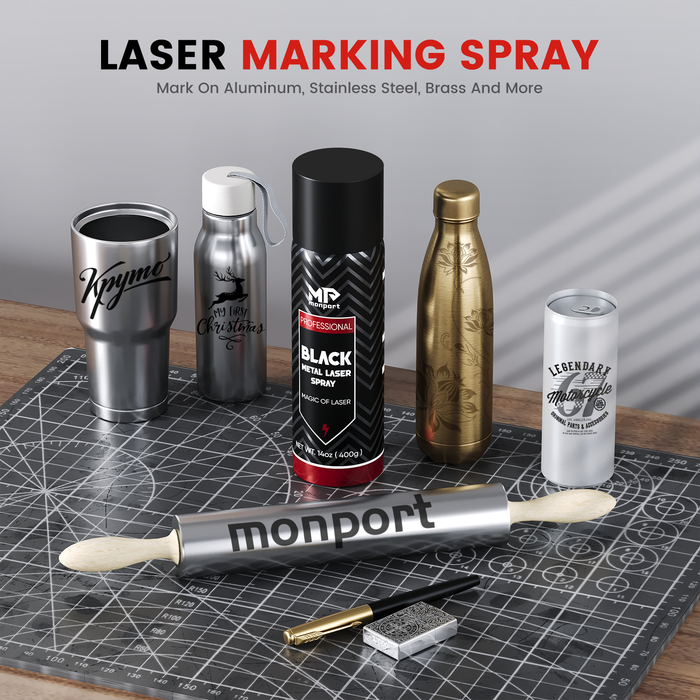
Engraving tumblers can be a rewarding and lucrative craft, whether you're looking to personalize gifts or start a small business. With the right tools and techniques, you can achieve professional results that will impress your clients and customers, especially when using black laser marking spray. You can also expand your creative options by experimenting with laser engraving tumbler for test runs and design previews before working on final tumblers.
In this guide, we'll explore how to engrave tumblers with Lightburn tutorial, and we'll delve into essential engraving skills including how to align in Lightburn, to help you elevate your craft to the next level.
Monport 40W Pro Lightburn-Supported (12" X 8") CO2 Laser Engraver & Cutter with Air Assist - 40W Pro

Getting Started with Lightburn
Lightburn tutorial is a powerful software tool for laser engraving and cutting, offering a user-friendly interface and robust features. To begin engraving tumblers with Lightburn, you'll need a compatible laser engraver such as the Monport 40W Pro. This CO2 laser engraver offers a sizable working area of 12" x 8", perfect for handling tumblers of various sizes, especially when using black laser marking spray.
Setting Up Your Workspace
Before diving into your first engraving project, it's essential to set up your workspace correctly. This includes understanding how to align in Lightburn. Here's a quick checklist to ensure everything is in order:
| Workspace Setup |
|---|
| Ensure proper ventilation for laser fumes. |
| Place tumblers securely in the engraving area. |
| Calibrate laser settings for optimal results. |
Mastering Engraving Skills
Achieving professional-looking engravings requires mastering several essential skills, and understanding how to align in Lightburn is paramount.
Design Preparation
Use vector graphics software like Adobe Illustrator to create or import designs for engraving. Ensure your designs are correctly sized and positioned for the tumbler surface. Practicing layouts on laser engraving tumbler can help avoid costly mistakes on final products.
Material Selection
Choose high-quality tumblers made of materials like stainless steel or coated metal for best results. Avoid materials with coatings that may produce harmful fumes when engraved. For beginners, combining tumbler engraving with laser engraving tumbler projects can build confidence and skill.
Focus and Alignment
Proper focus and alignment are crucial for precise engraving. Use the built-in features of Lightburn tutorial to adjust the laser focus and align your design with the tumbler surface.
Power and Speed Settings
Experiment with different power and speed settings to achieve the desired engraving depth and clarity. Start with lower power settings and gradually increase until you reach the desired result, as explained in the Lightburn tutorial.
Test Engraving
Always perform a test engraving on a scrap piece of material before engraving the actual tumbler. This allows you to fine-tune your settings and ensure optimal results. Many users prefer testing on laser engraving tumbler because they are affordable and easy to work with.

FAQs
Q: Can I engrave curved surfaces like tumblers with a CO2 laser?
A: Yes, CO2 lasers can engrave curved surfaces like tumblers by using rotary attachments or specialized jigs to rotate the object during engraving, as covered in the Lightburn tutorial.
Q: How do I clean and maintain my laser engraver for optimal performance?
A: Regularly clean the lens and mirrors of your laser engraver to remove dust and debris. Lubricate moving parts as needed, and follow manufacturer guidelines for maintenance tasks.
Q: Can I engrave on coated tumblers with a CO2 laser?
A: It's possible to engrave on coated tumblers, but it's essential to choose coatings that are safe for laser engraving and to perform a test engraving to ensure compatibility, as discussed in the Lightburn tutorial.

Important Details
When engraving tumblers with Lightburn, pay attention to the following details:
- Raster vs. Vector Engraving: Lightburn tutorial supports both raster and vector engraving. Raster engraving is ideal for images and intricate designs, while vector engraving is suitable for text and line art.
- Speed and Quality: Balancing speed and quality is crucial for efficient engraving. Higher speeds may result in faster production but lower quality, while slower speeds yield higher quality but may take longer. Lightburn tutorial explains how to balance these elements effectively.
- Masking: Consider using masking tape or laser masking film to protect the tumbler surface during engraving. This helps prevent smoke residue and ensures crisp, clean engraving lines, a technique explained in the Lightburn tutorial.

Takeaways
Mastering tumbler engraving with Lightburn requires practice, patience, and attention to detail. By following proper setup procedures, honing essential engraving skills, and experimenting with different techniques, including the use of black laser marking spray, you can achieve professional results that will delight your clients and customers.
Conclusion