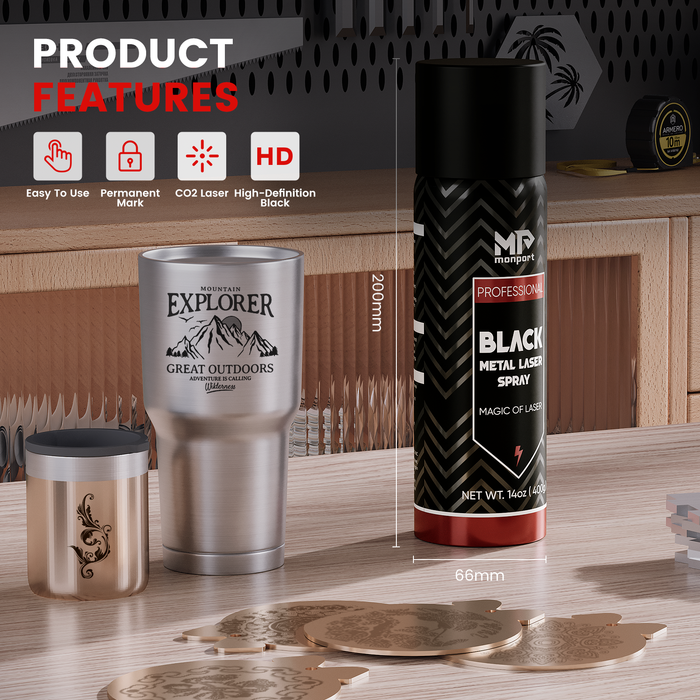
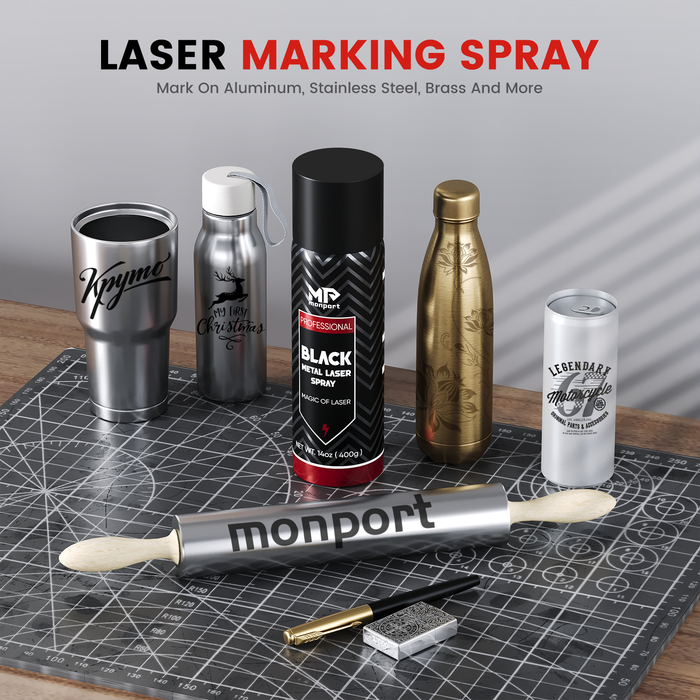
Red dot indication has become an invaluable feature in the realm of laser engraving, whether you’re working with a high-powered machine like a 60W-150W laser or a more compact 40W model. This functionality is crucial for aligning and positioning your material accurately before starting the engraving or cutting process, especially when working with wood sheets and black laser marking spray.
For those operating a 40W K40 laser cutter that lacks this feature, you might wonder how necessary a red dot pointer is, and how you can add or improve it in your existing setup. In this guide, we will explore why the red dot indication function is beneficial, and ways to enhance your Monport K40 laser engraver for better performance with wood sheets, particularly when using a Monport K40 board.
Additionally, we'll touch on how to use red color for laser cutting in Illustrator to ensure precise cuts and engravings in your designs, enhancing your overall workflow and project accuracy when working with wood sheets.
Ready to upgrade your K40 laser cutter for the best engraving experience? Shop the official Monport 40W K40 laser cutter with built-in red dot indicator and advanced Monport K40 board today! Don’t forget to use code BESTMP10 at checkout – click here to shop! for exclusive savings!
What is a red dot for k40 laser?

A red dot for a K40 laser is a small laser pointer that projects a visible red dot onto the surface of the material being engraved. The dot can be used as a reference point to align your workpiece and to ensure that the laser beam is hitting the correct location on the material. This can be especially useful when trying to engrave small or detailed designs or working with materials like wood sheets, that are easy to mark and adjust with black laser marking spray.
When the red dot is aligned to the workpiece, you can be sure that the laser will hit the desired spot on wood sheets and you can adjust the focus of the lens so that the dot appears clear and crisp. It also allows you to preview where the laser beam will hit and make any necessary adjustments before you start the engraving process. It's an important tool in order to get the best results with your K40 laser cutter, especially when engraving wood sheets with high accuracy on a Monport K40 laser board.
Why you need a red dot for your Monport k40 laser cutter?
A red dot pointer is a helpful tool for aligning your workpiece on a laser engraver. When setting up a piece to be engraved, it can be difficult to know exactly where the laser beam will hit the material. A red dot pointer projects a visible red dot onto the surface of the material, allowing you to see exactly where the laser beam will hit. This can be especially useful when you are trying to engrave small or detailed designs, or when you are working with materials like wood sheets, which may have unique grain patterns, and black laser marking spray can be used to enhance the visibility of your engravings.
Additionally, the red dot pointer also helps to get your focus right, by shining the beam on the wood sheets and then adjusting the lens in order to get the right focal point where the beam is at its tightest and smallest.
There are several benefits to using a red dot pointer with a laser engraver:
- Improved alignment: As I mentioned earlier, a red dot pointer makes it easy to see where the laser beam will hit the material, allowing you to align your workpiece more accurately on wood sheets.
- Faster setup: By making it easy to see where the laser beam will hit, a red dot pointer can help you set up your engraving projects more quickly, especially when working with wood sheets.
- Better precision: When you can see exactly where the laser beam will hit the wood sheets, you can position your workpiece more precisely. This can be especially helpful when working with small or detailed designs.
- Increased safety: By allowing you to see where the laser beam will hit, a red dot pointer can also help you avoid accidentally exposing yourself or others to the beam.
- Focusing assistance: Having a red dot also allows you to focus your laser beam to the exact point where you need it to be in order to get the best engraving result on wood sheets.
- Cost-effective: A red dot pointer is a relatively inexpensive accessory that can make a big difference in the quality and efficiency of your engraving work on wood sheets.
In summary, a red dot pointer is a simple but powerful tool that can help you achieve more accurate and consistent results when using a 40W K40 laser engraver machine, as well as increasing safety and simplifying the process, especially when paired with a Monport K40 laser board.
How to add red dot laser pointer to K40 laser?
Many k40s on the market are equipped with red dot indicators, and Monport 40w is also equipped with red dot indicators. But if your machine does not have red dot indicators, how can you install a red dot indicator for your k40? Adding a red dot laser pointer to a K40 laser engraver can be a relatively straightforward process. Here are the general steps that you will need to follow:
Purchase a red dot laser pointer: Make sure to purchase one that is compatible with the K40 laser engraver and has the right wavelength and power to work with the machine.
Install the red dot laser pointer: The installation process will depend on the specific model of red dot laser pointer that you have purchased. Some red dot laser pointers can be mounted directly onto the K40 laser engraver, while others may require additional hardware or modifications to the machine. Make sure to follow the manufacturer's instructions for installation.
Connect the red dot laser pointer to the laser control board: Once the red dot laser pointer is installed, you will need to connect it to the laser control board. The specific connection method will depend on the model of your red dot laser pointer, and you may need to consult the manufacturer's instructions for details.
Test the red dot laser pointer: After the red dot laser pointer is connected to the laser control board, you should test it to make sure it is working properly. Point the red dot at a flat surface and adjust the focus of the lens so that the dot appears clear and crisp.
Update software: You may need to update your software to enable the control of the red dot laser pointer, check with the manufacturer for guidance on this.
Finally, adjust the laser power and speed settings to work with the red dot laser pointer. This will ensure that the red dot laser pointer is used at the correct power and speed settings for your specific application. It's important to keep in mind that this is a general guide and the process of adding a red dot laser pointer to a K40 laser engraver can vary depending on the specific model of red dot laser pointer and the modifications made to the K40 laser engraver. Make sure to read and follow the instructions provided by the red dot laser pointer's manufacturer. Additionally, black laser marking spray may be helpful to improve the visibility of your marks during alignment.
Frequently Asked Questions (FAQs)
1. Can I add a red dot laser pointer to any K40 laser model?
Yes, most K40 laser cutters can be upgraded with a compatible red dot laser pointer. Ensure you purchase one designed for your machine’s specifications.
2. How does a red dot pointer improve engraving on wood sheets?
The red dot clearly marks the laser’s impact point, allowing precise alignment and focus, which is critical for detailed wood sheet engraving.
3. Does the Monport K40 laser board support red dot laser pointers?
Yes, the Monport K40 laser board is designed to support and control red dot laser pointers, enhancing precision and ease of use.
4. Is black laser marking spray necessary?
While not mandatory, black laser marking spray significantly improves visibility of marks on wood sheets, making alignment and engraving more accurate.
5. Can I install the red dot laser pointer myself?
If you have basic technical skills and follow manufacturer instructions carefully, you can install the red dot pointer yourself. Otherwise, consider professional help.
How to use the red dot functions on my laser?
The specific steps for using the red dot function on a laser engraver will vary depending on the make and model of your machine. Here are some general steps that should apply to most laser engravers:
Turn on the red dot function: This is usually done by pressing a button on the laser engraver's control panel or by selecting the red dot function in the software that you are using to control the machine.
Position the workpiece: Place your workpiece on the laser engraver's bed, making sure that it is securely clamped in place.
Align the red dot: Use the red dot to align your workpiece so that the laser beam will hit the correct location on the material. This may involve adjusting the position of the workpiece on the bed, or adjusting the focus of the laser beam.
Engrave: Once you are satisfied with the alignment, you can start the engraving process.
Turn off the red dot: When you're done using the red dot, turn it off either by pressing the same button you used to turn it on or through the software.
Note that some laser engravers have an automatic red dot alignment feature which eliminates the need to adjust the position of the workpiece on the bed or adjust the focus of the laser beam.
It's important to make sure that you have the right lens installed and correctly adjusted to focus the beam. If the focal point is too far or too close, your engraving may not be as precise as it could be, or the dot could appear fuzzy. Also, always make sure to follow the manufacturer's instructions and any safety guidelines when operating your laser engraver, and never look directly into the laser beam. Additionally, using black laser marking spray can enhance the visibility of your engravings, ensuring more accurate focus and a cleaner result.

Upgrade K40 laser cutter: Other steps making your CO2 laser better
Here are some additional steps that you may want to consider when upgrading your K40 laser engraver:
Improve exhaust ventilation: The K40 laser engraver produces fumes and smoke when engraving, so it's important to have a good ventilation system in place to remove these fumes from your workspace. You can upgrade the exhaust fan and add a smoke filter to your K40 laser engraver to improve the air quality in your workspace.
Upgrade the laser tube: The laser tube is an important component of your K40 laser engraver, and upgrading to a higher-power tube can improve the quality of your engravings and increase the speed at which you can engrave.
Replace the stepper motors: The stepper motors in the K40 laser engraver can wear out over time, causing the machine to lose accuracy and precision. Replacing the stepper motors with higher-quality motors can improve the performance of your K40 laser engraver.
Upgrade the control board: Many K40 laser engravers use a control board that is based on older technology. Upgrading to a newer control board, such as a Monport K40 board, can improve the performance and functionality of your K40 laser engraver.
Upgrade the lens: A high-quality lens can help to focus the laser beam more precisely and produce better quality engravings. You can upgrade the lens to a high-quality glass lens or even a Co2 laser's metal lens.
Add a water chiller: A water chiller is a device that cools the laser tube, increasing its lifespan and performance.
Add more safety features: Always make sure your laser engraver include all the necessary safety features such as emergency stop, interlock and warning light.
Final Thoughts
It's important to note that many of these upgrades may require technical expertise and equipment. It's advisable to do research, consult with experts, and take appropriate safety precautions before undertaking any modifications to your K40 laser engraver with Monport K40 board. Additionally, using black laser marking spray during modifications can improve engraving results, especially when making adjustments to settings or adding new features.

Ready to upgrade your K40 laser cutter for the best engraving experience? Shop the official Monport 40W K40 laser cutter with built-in red dot indicator and advanced Monport K40 board today! Don’t forget to use code BESTMP10 at checkout – click here to shop! for exclusive savings!
Read More: Beginners Guide To The K40 Laser Engraver - Monport


1 Comment
This is embarrassingly bad. Just don’t write anything if you’re just going to have an AI drone on like a high schooler trying to pad a paper. Ffs , delete this useless article