

Laser engraving has revolutionized the way we create, personalize, and enhance various materials, from wood and acrylic to metal and glass. Two powerful tools in this domain are the Monport 100W CO2 laser engraver and the Omtech 100W CO2 laser engraver. This comprehensive guide will explore their features, how to get started with the best laser cutting machine, the Monport 100W CO2 laser engraver files, and practical tips to achieve precision and excellence in your high powered laser cutting machine projects.
Introduction to Laser Engraving

The world of laser engraving offers endless possibilities for creativity and innovation. The Monport 100W CO2 laser engraver files cutting machine stands out for its superior features, efficiency, and user-friendly design compared to the Omtech 100W CO2 laser engraver files cutting machine. These best high powered laser cutting machines provide high power and precision, making them ideal for various applications, from intricate designs to large-scale projects. In this guide, we will delve into the capabilities of these laser cutting machines and provide detailed instructions on starting with the Monport 100W CO2 laser engraver files cutting machine.
Why Choose a 100W CO2 Laser Engraver?
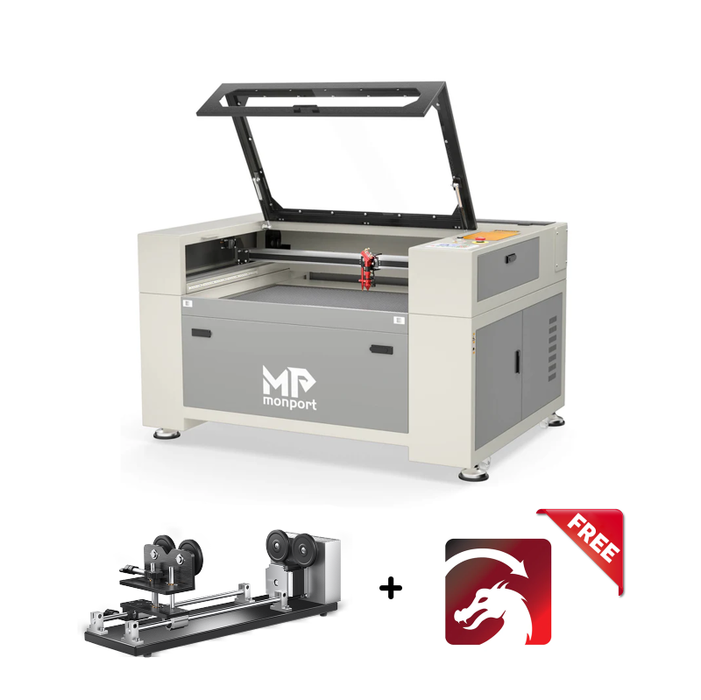
Flash Sale | Monport 100W CO2 Laser Engraver & Cutter (40" x 24") with FDA Approved

Power and Versatility
Both the Monport 100W CO2 laser engraver and the Omtech 100W CO2 laser engraver offer immense power, enabling them to cut and engrave a wide range of materials with ease. However, the Monport 100W CO2 laser engraver offers enhanced precision and efficiency, ensuring even the most intricate designs can be executed with speed and accuracy.
Precision and Detail
With a 100W CO2 laser engraver, you can achieve fine details and sharp edges that are often challenging with other cutting tools. The Monport 100W CO2 laser engraver excels in this aspect, providing unmatched precision and detail, making it perfect for detailed work.
Efficiency and Productivity
The high power of the Monport 100W CO2 laser engraver allows for faster processing times, significantly reducing the time required to complete projects. This efficiency is crucial for businesses needing to meet tight deadlines and produce high volumes of work without compromising quality. The Omtech 100W CO2 laser engraver is also efficient, but Monport's advanced features give it an edge in productivity.
Features of the Monport 100W CO2 Laser Engraver
The Monport 100W CO2 laser engraver is designed to offer exceptional performance and user convenience. Some of its standout features include:
- Powerful & Efficient Performance: Equipped with a 100W laser tube, capable of cutting through thick materials with precision and speed.
- One-Touch Auto-Focus: Simplifies the engraving process with an auto-focus function that adjusts the laser to the optimal distance.
- Practical 5MP Camera: Provides high-resolution previews, enabling precise adjustments of design placement.
- Versatile Engraving Possibilities: Large working area and support for rotary axis make it suitable for diverse projects.
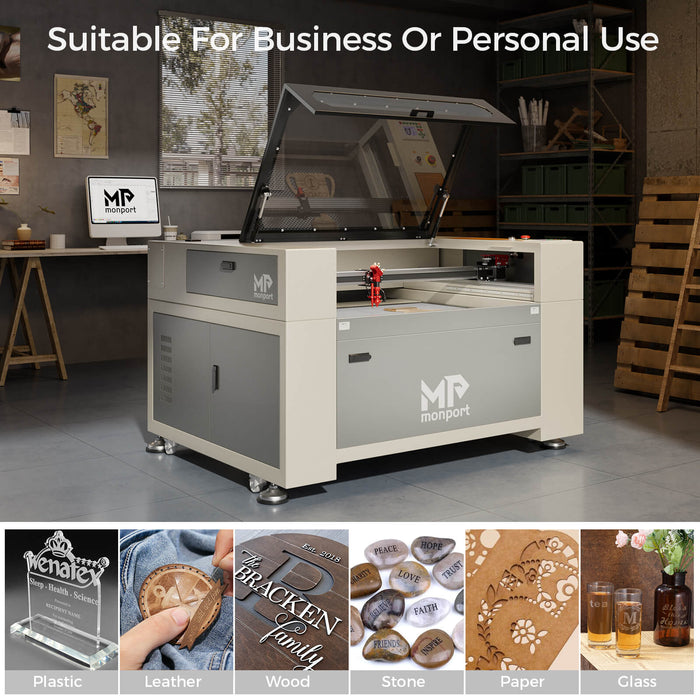
- Multi-Material Compatibility: Effective on wood, acrylic, leather, MDF, rubber, fabric, glass, ceramics, and more.
- Enhanced Safety and Cleanliness: Features an enclosed design, emergency stop button, and superior smoke evacuation system.
Features of the Omtech 100W CO2 Laser Engraver
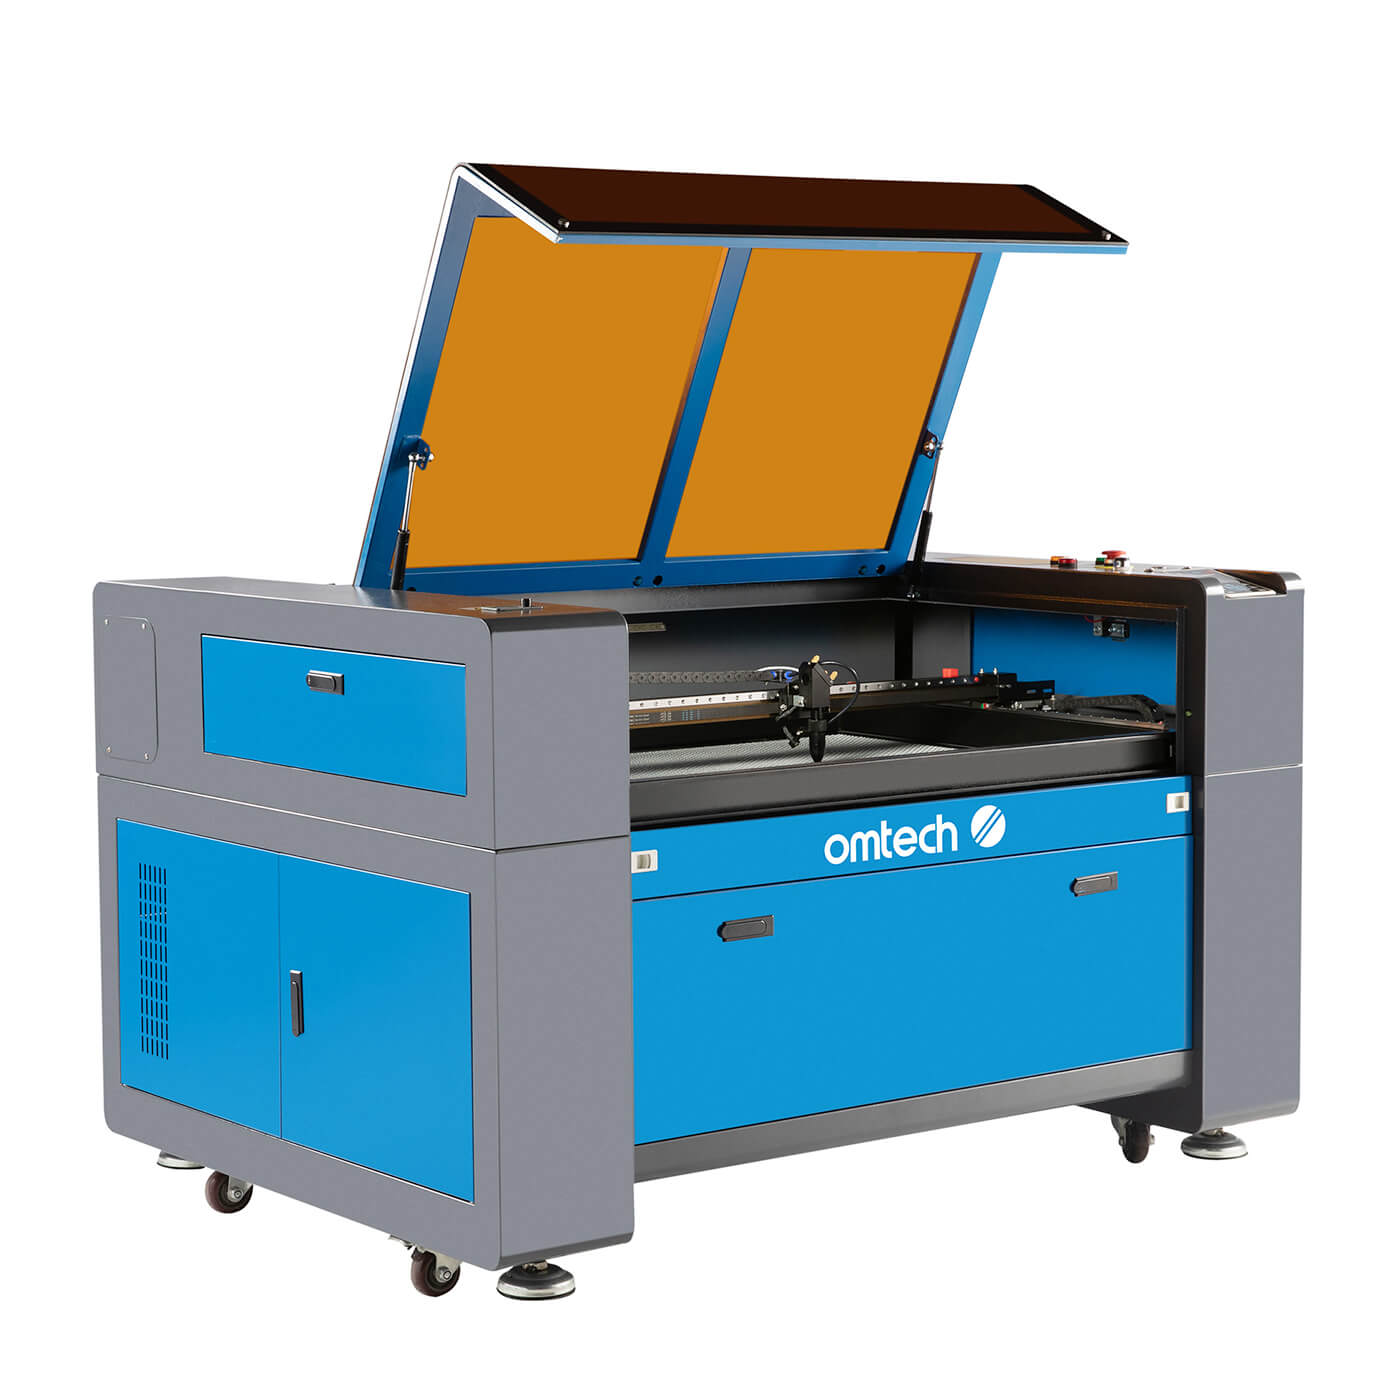
The Omtech 100W CO2 laser engraver is known for its robust construction and user-friendly features. Here are some key highlights:
- High Precision: Capable of achieving intricate details with high accuracy.
- Versatile Material Compatibility: Works with wood, acrylic, leather, glass, and more.
- Large Working Area: Accommodates larger projects, enhancing productivity.
- Advanced Software Integration: Compatible with popular design software, allowing for seamless project execution.
- Enhanced Safety Features: Includes protective enclosures and emergency stop buttons for safe operation.
Why Monport 100W CO2 Laser Engraver Outshines Omtech
| Brand | monport | omtech |
| Picture |  |
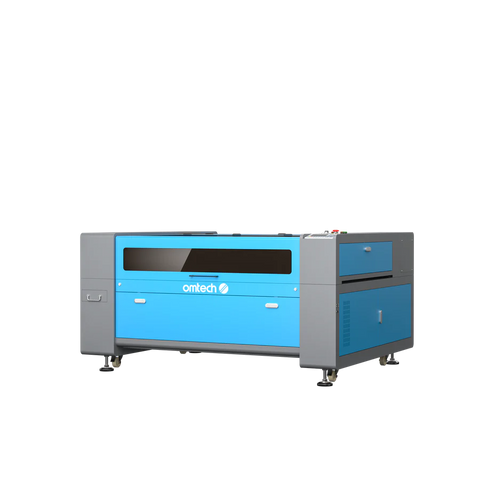 |
| Model | Monport 100W CO2 | MF2028-100 - 100W CO2 |
| Price | 3499.99 | 3799.99 |
| Power | 100w | 100w |
| Speed | 800mm/s | 600mm/s |
| Working area | 500*700mm | 500*700mm |
| Cutting ability | 20mm | 10mm |
| Focus mode | auto focus | manual focus |
| Security | Emergency stop/key/opening protection | Emergency stop/key/switch |
| Software | Lightburn、RDWorks、 Coreldraw、Auto-CAD |
RDWorks,LightBurn,CorelDRAW,AutoCAD |
| Amplitude movement | Non-explicit high-speed linear module | Linear Guides |
| Pass through | front, back, left, right | front, back, left, right |
| Whether with built-in chiller | No built-in chiller, comes with an external water pump | No |
| Whether with air assist | Yes | Yes |
| Whether with a bracket | No | Yes |
The Monport 100W CO2 high powered laser engraver files stands out due to its advanced features and user-friendly design, which provide a superior engraving experience compared to the Omtech 100W CO2 laser engraver files. The one-touch auto-focus makes it easier to use and more precise, enhancing productivity and quality. Additionally, the Monport’s superior smoke evacuation system ensures a cleaner and safer working environment, further distinguishing it from the Omtech. For those seeking the best laser cutter that delivers on performance, precision, and ease of use, the Monport 100W CO2 laser engraver files is a top choice.
Getting Started with the Monport 100W CO2 Laser Engraver
Step 1: Unboxing and Setup
Upon receiving your Monport 100W CO2 laser engraver, carefully unbox the machine and ensure all components are included. Follow the manufacturer’s instructions for assembling the machine. Place the engraver on a stable surface in a well-ventilated area to ensure optimal performance and safety.
Step 2: Installing the Software
Install the provided Lightburn software, which is compatible with the Monport 100W CO2 laser engraver. This software allows you to design and edit your projects with ease. Follow the installation instructions and ensure your computer meets the software’s system requirements.
Step 3: Connecting the Machine
Connect the Monport 100W CO2 high powered laser engraver to your computer using the provided USB cable.
Step 4: Preparing Your Design
Use the Lightburn software to create or import your design. Adjust the design’s size and position according to the dimensions of the material you will be engraving. The built-in 5MP camera allows you to preview the work area and make precise adjustments.
Step 5: Setting Up the Material
Place the material on the work area of the high powered laser engraver. Use the one-touch auto-focus feature to adjust the laser to the correct focal distance.
Step 6: Adjusting the Settings
Set the appropriate power, speed, and number of passes in the Lightburn software. For different materials and thicknesses, these settings may vary. Perform test cuts on scrap material to fine-tune these settings and achieve the desired results.
Step 7: Engraving Your Design
Once all settings are configured, start the engraving process. Monitor the machine during operation to ensure everything runs smoothly. The Monport 100W CO2 laser engraver’s safety features will help prevent accidents and ensure a clean working environment.
Step 8: Post-Engraving Care
After the engraving is complete, carefully remove the material from the work area. Inspect the engraving for any imperfections and clean the work area to maintain the machine’s performance. Regular maintenance, such as cleaning the lens and mirrors, will ensure long-term reliability and help you achieve consistent, high-quality results with your best laser cutter.
Tips for Successful Laser Engraving
Material Selection
Choose high-quality materials that are compatible with the Omtech 100W CO2 laser engraver and Monport 100W CO2 laser engraver. Different materials have varying absorption rates, affecting the engraving quality.
Design Considerations
Ensure your designs are optimized for laser engraving. Vector-based designs work best for precision and clarity. Avoid overly complex patterns that may be difficult to reproduce accurately.
Regular Maintenance
Perform regular maintenance on your laser engraver to keep it in optimal condition. Clean the lens and mirrors, check for any signs of wear, and replace consumables as needed.
Small Business Tips for Laser Engraving
Starting a small business focused on laser engraving can be highly rewarding. Here are some tips to help you succeed:
Market Research
Identify your target market and understand their needs. Whether it’s custom signage, art pieces, or personalized gifts, knowing your audience will help you tailor your services effectively.
Quality Equipment
Invest in reliable and high-performance laser engravers like the Monport 100W CO2 laser engraver. Its advanced features and efficiency can significantly enhance your production capabilities and product quality.
Online Presence
Create a professional website and maintain active social media profiles to showcase your work. High-quality images, customer testimonials, and engaging content can attract potential clients and build your brand’s reputation.
Customer Service
Providing excellent customer service is crucial. Ensure prompt communication, attention to detail, and a satisfaction guarantee to build a loyal customer base.
Conclusion
Investing in a powerful machine like the Monport 100W CO2 laser engraver can elevate your creative projects to new heights. Compared to the Omtech 100W CO2 laser engraver, Monport offers superior features, efficiency, and user-friendly design. By leveraging the advanced capabilities of the Monport 100W CO2 high powered laser engraver, you can achieve exceptional results in your laser engraving endeavors.
Read More: Illuminate Easter Joy with High Power Laser Magic and Vibrant Coloring


