Laser engraving is a fascinating way to personalize and enhance various materials. One of the most captivating uses of this technology is laser engraving a photo on glass. Whether you're aiming to create a beautiful keepsake or a unique gift, laser engraving with a glass engraving machine provides precision and elegance.Using a laser engraving machine for glass bottles or flat glass surfaces can transform ordinary glass items into extraordinary pieces of art.
In this article, we'll guide you through the process of laser engraving a photo on glass, highlight the benefits of using the Monport 150W CO2 Laser Engraver & Cutter, and provide tips for achieving the best results with your glass engraving machine.
.


Introduction to Laser Engraving on Glass
Laser engraving on glass involves using a high-powered glass engraving machine to etch a design, image, or photo onto a glass surface.
This process creates intricate and permanent designs that stand out beautifully. The Monport 150W CO2 Laser Engraver & Cutter, available on Flash Sale | Monport 150W CO2 Laser Engraver & Cutter (64" x 40") with FDA Approved, is an ideal choice for this task.
Key Features of Monport 150W CO2 Laser Engraver:
- Powerful 150W CO2 laser
- Large engraving area (64" x 40")
- FDA approved for safety
- Precision and versatility

Preparing Your Photo for Engraving
Before you begin, it's essential to prepare your photo correctly. Follow these steps to ensure the best results:
Steps to Prepare Your Photo:
- Select a High-Quality Image: Choose a photo with high resolution and clear details.
- Convert to Grayscale: Use photo editing software to convert your image to grayscale. This helps in achieving better contrast.
- Adjust Contrast and Brightness: Enhance the contrast and brightness to highlight the important features of the photo.
- Resize and Crop: Adjust the size and crop the photo to fit the engraving area on the glass.
Recommended Software:
- Adobe Photoshop
- GIMP (free alternative)
- CorelDRAW

Setting Up the Laser Engraving Machine
Proper setup of your glass engraving machine for glass bottles or flat glass surfaces is crucial for achieving precise results.
Step-by-Step Setup Guide:
- Position the Glass: Securely place the glass item on the engraving bed. For bottles, use a rotary attachment if available.
- Focus the Laser: Adjust the laser focus to ensure it is correctly aligned with the glass surface.
- Upload the Image: Import the prepared photo into the laser engraving software.
- Adjust Settings: Configure the laser settings, including power, speed, and resolution, according to the glass type and thickness.

Engraving Process
With everything set up, you can now start the engraving process.
Engraving Steps:
- Perform a Test Engraving: Run a test on a scrap piece of glass to fine-tune settings.
- Engrave the Photo: Begin the engraving process. Monitor the machine to ensure everything runs smoothly.
- Inspect the Engraving: Once completed, carefully inspect the engraving for any inconsistencies or errors.
- Clean the Glass: Use a soft cloth and mild cleaner to remove any residue from the engraving process.

Tips for Successful Laser Engraving on Glass
Important Tips:
- Use Masking Tape: Apply masking tape to the glass surface before engraving to reduce the risk of cracks and enhance contrast.
- Adjust Power Settings: Start with lower power settings and gradually increase if necessary to avoid damaging the glass.
- Cooling System: Ensure your laser engraver has an adequate cooling system to prevent overheating.

FAQs
Q: Can any type of glass be engraved?
A: Most glass types can be engraved, but tempered glass and certain coated glasses might not yield the best results.
Q: How can I prevent the glass from cracking during engraving?
A: Using lower power settings, applying masking tape, and ensuring proper cooling can help prevent cracking.
Q: Is it possible to engrave color photos on glass?
A: Laser engraving is typically monochromatic, but you can achieve varying shades of gray.

Revolutionize Your Metal Engraving with Monport Black Laser Marking Spray
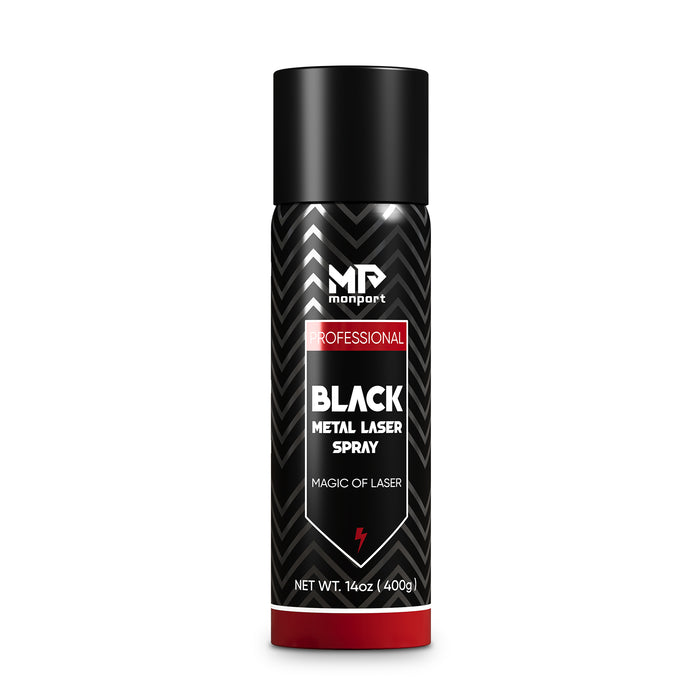
Transform your metal engraving experience with the Monport black laser marking spray—the perfect solution for achieving crisp, high-contrast, and permanent marks on a variety of metal surfaces. Engineered for use with CO2 laser engraving machines of 25 watts and above, this innovative spray simplifies the marking process with its aerosol convenience and precision performance. Each 14 oz aluminum can delivers a powerful and even coat, thanks to its anti-clog nozzle and fine-grained nanoparticle formula. Whether you’re personalizing jewelry, labeling tools, or customizing glassware, the black laser marking spray ensures consistent, durable results.
Designed for metals like aluminum, stainless steel, and brass, it penetrates deeply to create heat-resistant black markings that last. Simply clean your surface with alcohol, shake the can for two minutes, spray from 6 to 8 inches away, and let it air dry for just five minutes. Once the laser has done its job, a quick rinse reveals your permanent masterpiece. Alcohol-free and easy to use, the Monport black laser marking spray is your go-to companion for effortless, professional-grade laser engraving. Don’t settle for anything less—choose black laser marking spray for sharp detail, quick results, and top-tier durability every time.
Conclusion
Laser engraving a photo on glass is a creative and rewarding project that adds a personalized touch to any glass item. Using a high-quality glass engraving machine for glass bottles and flat surfaces, like the Monport 150W CO2 Laser Engraver & Cutter, ensures precision and excellent results. By following the steps and tips outlined in this guide, you can create stunning engraved photos on glass.