Introduction
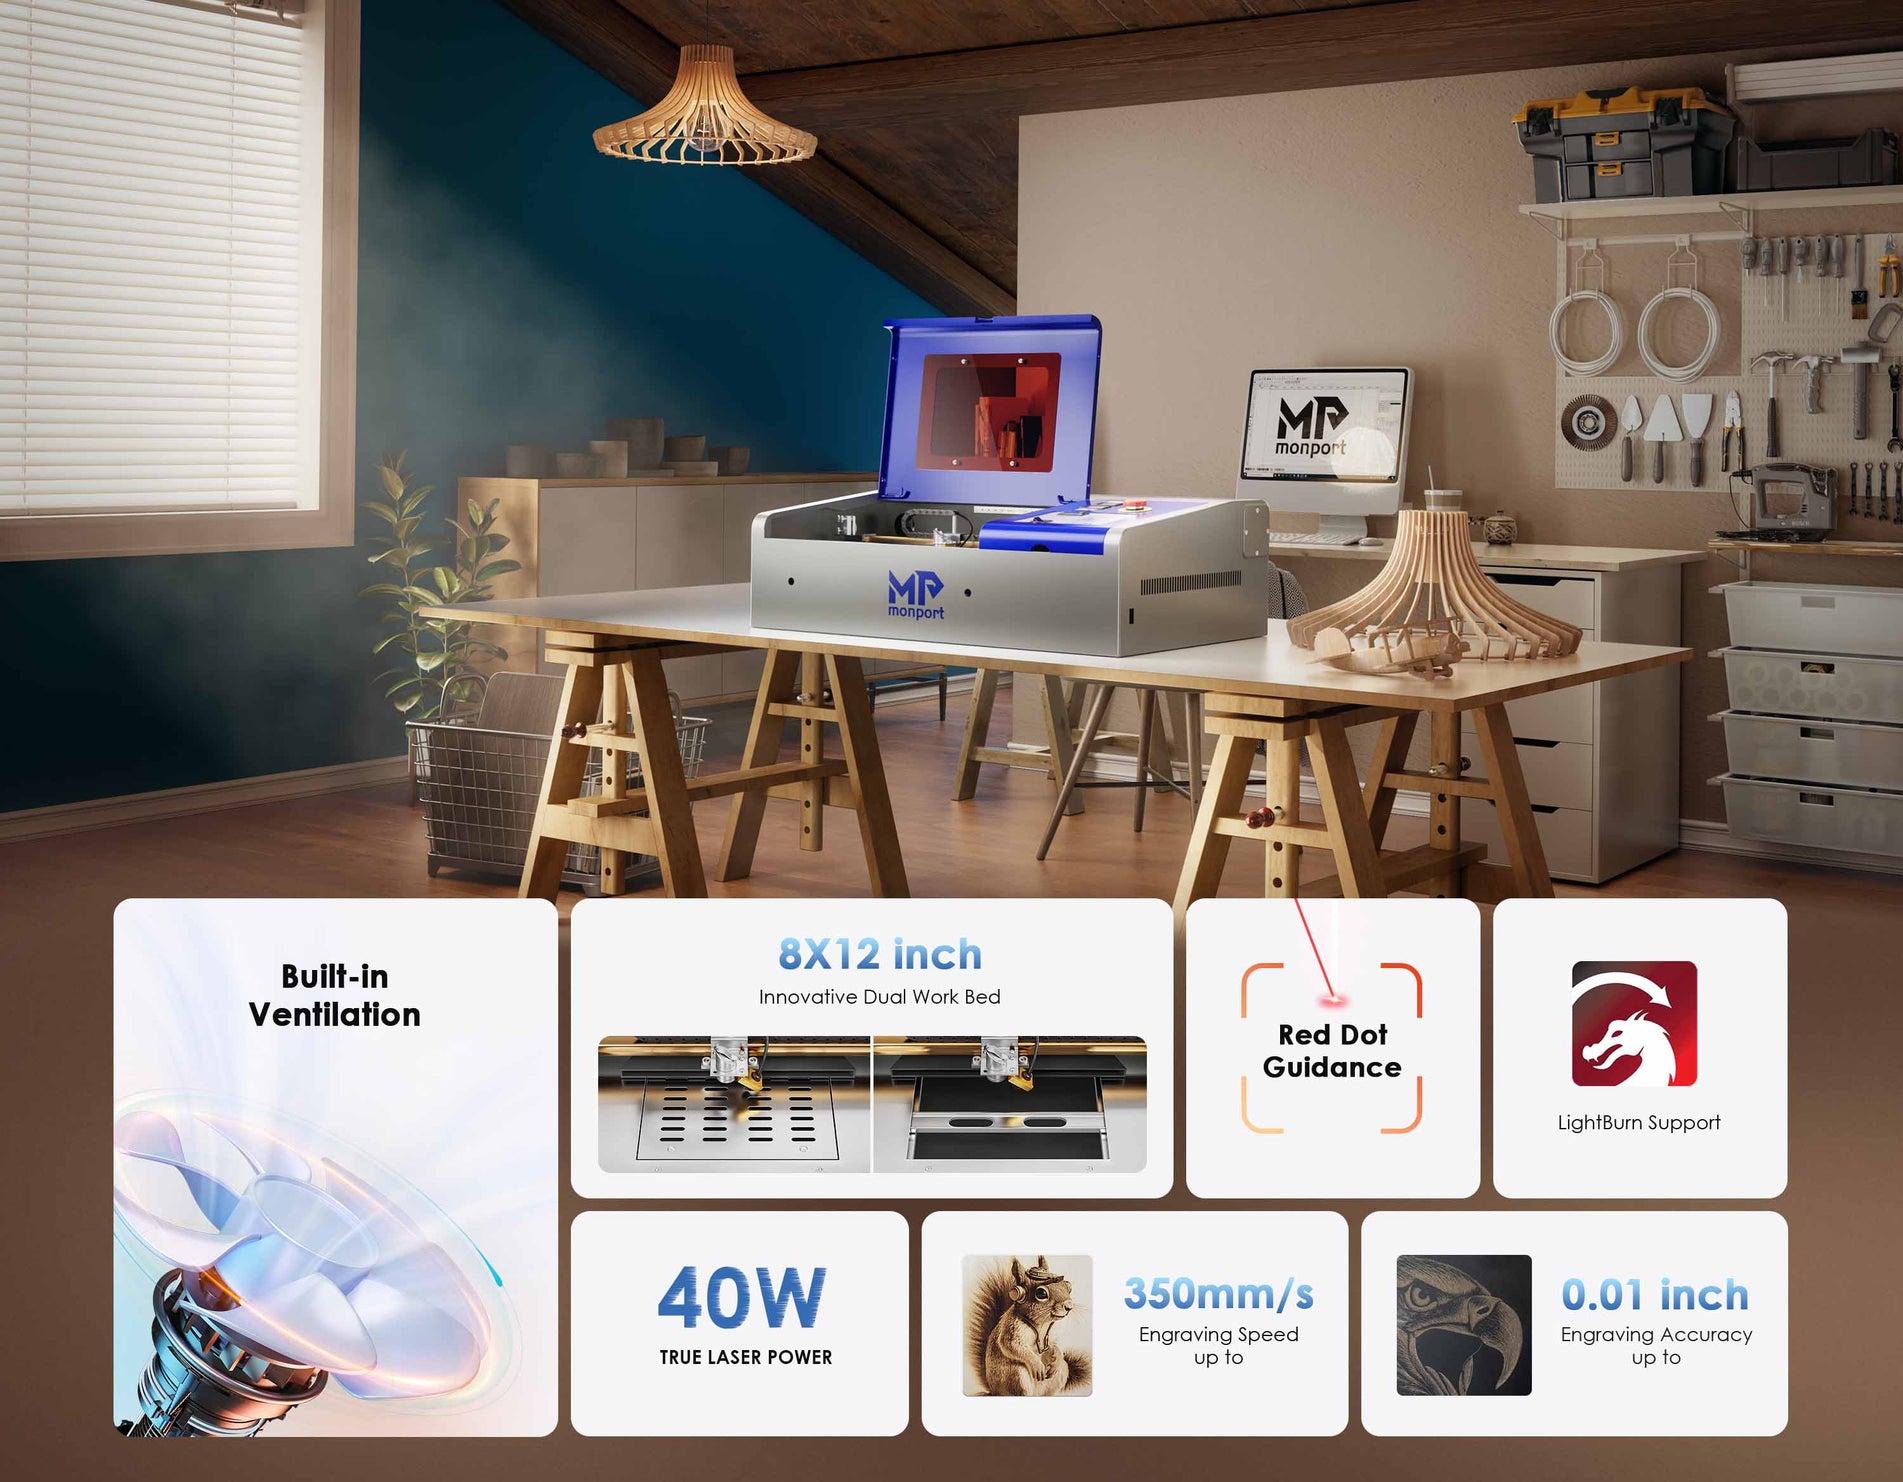
Creating customized items like engraved glass ornaments and working with materials like 3mm plexiglass sheet can be both a fulfilling hobby and a profitable business. Utilizing the right tools, such as the Monport 40W Pro Lightburn-Supported (12" X 8") CO2 Laser Engraver & Cutter with Air Assist, can make the process efficient and professional. This article will guide you through the process of engraving plexiglass sheets and glass ornaments, showcasing the versatility and precision of the Monport 40W Pro.
Monport 40W Pro Lightburn-Supported (12" X 8") CO2 Laser Engraver & Cutter with Air Assist
Getting Started with Plexiglass Sheet Engraving

Unboxing and Setup
- Unboxing Your Monport 40W Pro: Carefully unbox your Monport 40W Pro, ensuring all components are present and undamaged. Follow the manual for assembly instructions.
- Initial Setup: Connect the engraver to a stable power source and your computer. Ensure all connections are secure.
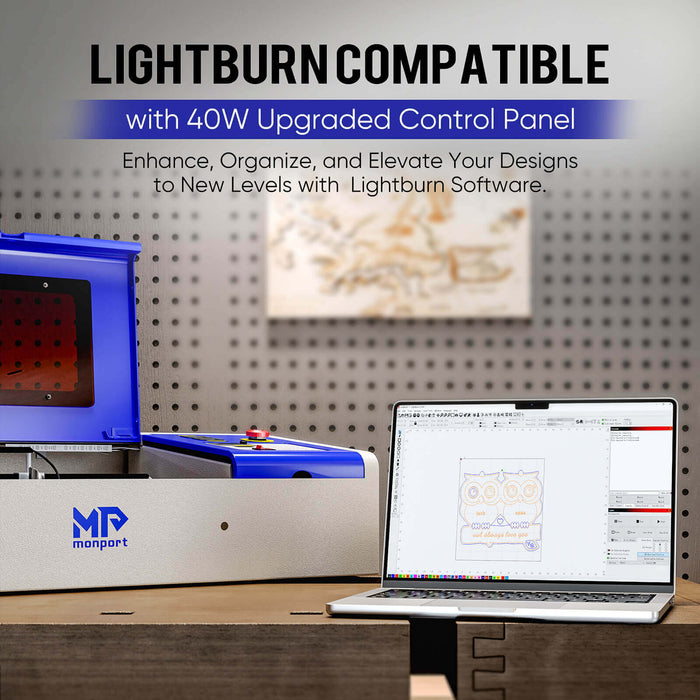
- Software Installation: Download and install LightBurn software, which is essential for creating and managing your engraving designs.
Preparing the 3mm Plexiglass Sheet
- Material Preparation: Select high-quality 3mm plexiglass sheet for your projects. Ensure the sheet is clean and free from any protective film that might interfere with engraving.
- Securing the Sheet: Place the plexiglass sheet on the workbed of the engraver and use clamps or adhesive to keep it in place.
- Air Assist Setup: The air assist helps remove debris and cools the material, resulting in cleaner engravings. Adjust the nozzle for optimal airflow.
Creating Your Design
- Design in LightBurn: Use LightBurn software to create or import your design. The software offers a range of tools for precise design adjustments.
- Setting Parameters: Adjust the laser settings in LightBurn according to the type of plexiglass and the desired depth of the engraving. Perform test runs on scrap pieces to fine-tune these settings.
- Starting the Engraving Process: Once your design and settings are ready, start the engraving process. Monitor the process to ensure everything is functioning correctly.
Engraving Glass Ornaments

Choosing the Right Glass
- Glass Selection: Choose high-quality glass ornaments for engraving. Clear glass works best for creating sharp and detailed designs.
- Cleaning the Glass: Ensure the glass surface is clean and free from any oils or residues that could affect the engraving process.
Preparing the Engraver
- Setting Up the Monport 40W Pro: Ensure the laser engraver is correctly set up and calibrated for glass engraving. This may involve adjusting the focus and laser power settings.
- Securing the Ornament: Place the glass ornament on the workbed, ensuring it is stable and won't move during the engraving process.
Engraving Process
- Designing in LightBurn: Create or import your design in LightBurn. Consider the curvature of the ornament and adjust your design accordingly.
- Laser Settings: Set the laser power and speed for glass engraving. Lower power settings are often required to prevent cracking or damage to the glass.
- Engraving the Ornament: Start the engraving process and monitor it closely to ensure the best results. Once completed, clean the ornament to remove any residue.
Tips for High-Quality Engravings
Optimizing Your Design
- Detail and Precision: The Monport 40W Pro allows for intricate designs. Ensure your design is detailed and precise to make the most of the laser engraver’s capabilities.
- Text and Images: Combine text and images for a personalized touch. Ensure the text is legible and the images are clear.
Engraving Techniques
- Depth Control: Adjust the laser settings to control the depth of the engraving. Shallower engravings work well for fine details, while deeper engravings are suitable for bolder designs.
- Speed and Power Settings: Balance the speed and power settings to achieve clean and precise engravings. Slower speeds with moderate power often yield the best results for plexiglass and glass.

Key Takeaways
Benefits of Custom Engravings
- Personalization: Custom engravings add a unique touch to plexiglass sheets and glass ornaments, making them ideal for gifts and promotional items.
- Durability: Laser engraving creates durable designs that do not fade or wear off over time.
- Versatility: The Monport 40W Pro can handle various materials, allowing for a wide range of design possibilities.
Advantages of Using the Monport 40W Pro
- High Precision: The Monport 40W Pro offers high precision, making it suitable for detailed and intricate designs.
- Ease of Use: The compatibility with LightBurn software and user-friendly interface makes the engraving process straightforward.
- Efficiency: The air assist feature helps remove debris and cools the material, resulting in cleaner engravings and efficient processing.

Q&A About Monport Laser Engravers
Q: What makes the Monport 40W Pro suitable for engraving plexiglass and glass?
A: The Monport 40W Pro offers precise control and high-quality results, making it ideal for detailed engravings on both plexiglass and glass. Its compatibility with LightBurn software enhances its functionality.
Q: How does the air assist feature benefit the engraving process?
A: The air assist helps remove debris and cools the material during engraving, resulting in cleaner and more precise engravings. It also helps prevent burns on the plexiglass and glass.
Q: Can the Monport 40W Pro engrave other materials?
A: Yes, the Monport 40W Pro can engrave a variety of materials, including wood, acrylic, and certain metals, making it a versatile tool for different projects.
Q: Is LightBurn software necessary for using the Monport 40W Pro?
A: While LightBurn is highly recommended for its comprehensive features and user-friendly interface, other compatible software can also be used. However, LightBurn offers seamless integration and enhances the overall engraving experience.
Q: What maintenance is required for the Monport 40W Pro?
A: Regular maintenance includes cleaning the laser lens, checking the air assist system, and ensuring all mechanical parts are in good working condition. Following the manufacturer’s maintenance guidelines is essential for optimal performance.
Applying Proper Headings
Getting Started with Plexiglass Sheet Engraving
- Unboxing and Setup
- Preparing the 3mm Plexiglass Sheet
- Creating Your Design
Engraving Glass Ornaments
- Choosing the Right Glass
- Preparing the Engraver
- Engraving Process
Tips for High-Quality Engravings
- Optimizing Your Design
- Engraving Techniques
Key Takeaways
- Benefits of Custom Engravings
- Advantages of Using the Monport 40W Pro

Conclusion
Creating engraved glass ornaments and working with 3mm plexiglass sheet using the Monport 40W Pro Lightburn-Supported CO2 Laser Engraver & Cutter with Air Assist is a rewarding venture. The precision and versatility of the engraver make it an excellent choice for both personal and professional projects. By following the steps and tips outlined in this article, you can produce high-quality, personalized items that appeal to a wide range of customers. Embrace the potential of laser engraving and elevate your craftsmanship to new heights.


