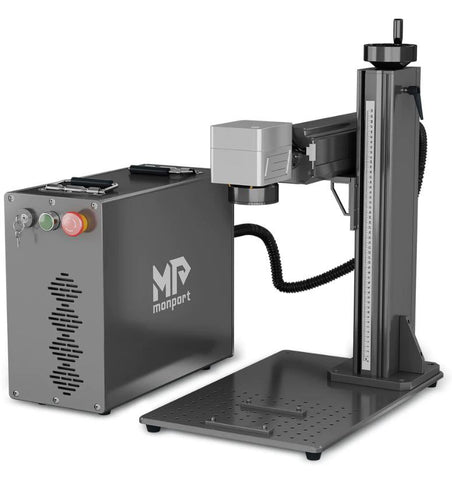
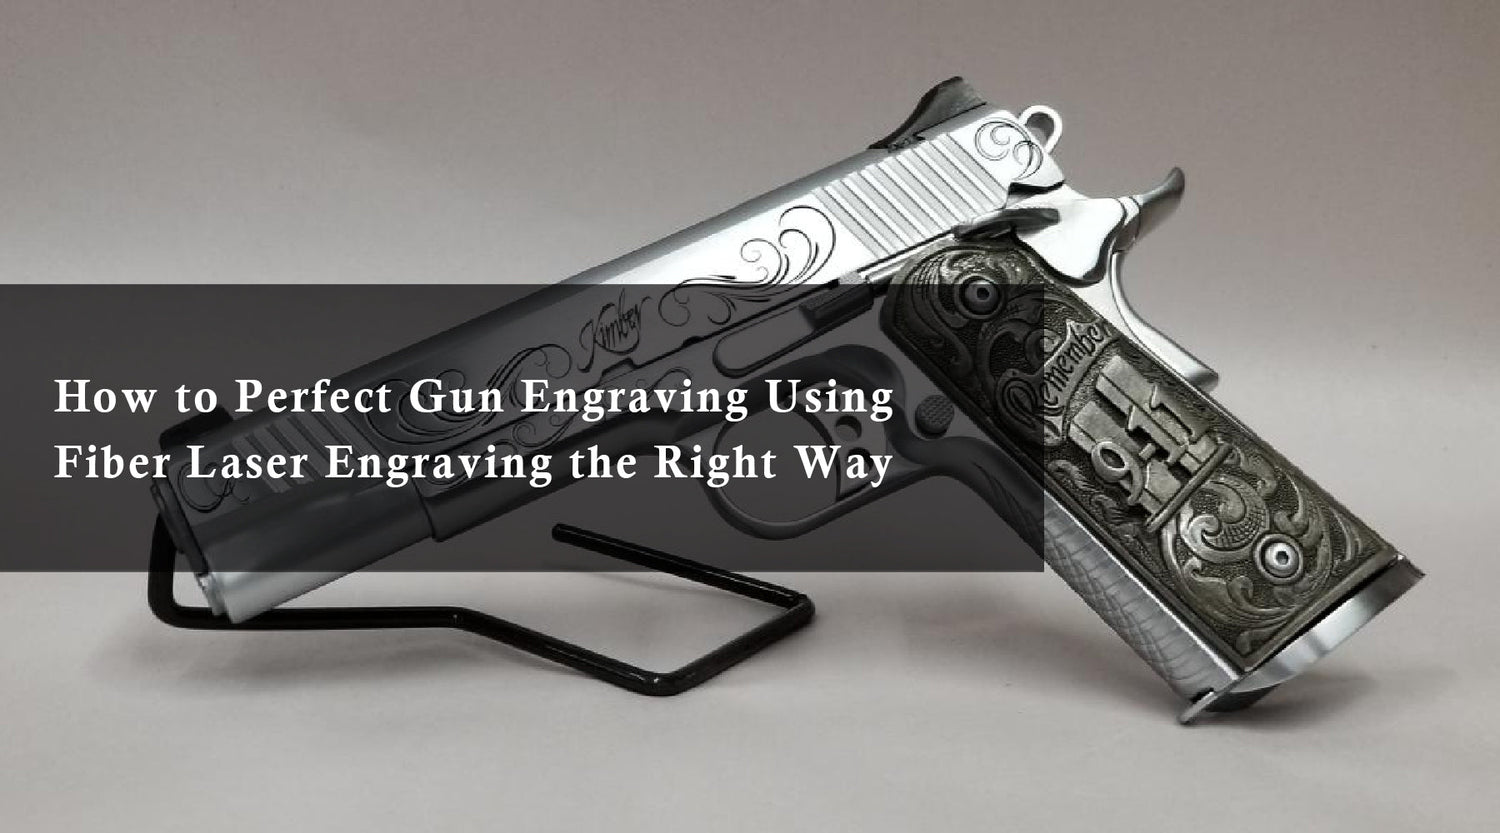
The world of laser engraving has become increasingly accessible, with the MoPA fiber laser engraver emerging as a powerful and versatile tool in the realm of laser machine. Unlike traditional fiber lasers, MoPA technology offers additional control over pulse width, allowing for intricate detail and precise marking on a wider range of materials.
This guide focuses specifically on the Monport 60W MoPA Fiber Laser, but the principles outlined here apply broadly to most MoPA fiber laser systems. We'll delve into understanding key laser parameters, material test file black laser marking spray mopa laser, explore a step-by-step approach to setting them for optimal results, and provide valuable tips to elevate your engraving projects.
When it comes to achieving exceptional engraving results, understanding fiber laser settings is crucial. Whether you're a beginner or experienced in laser engraving, mastering the correct settings for your metal engraving machine can elevate your projects. In this guide, we'll explore the key parameters, setup process, and tips for optimizing your Monport 60W MOPA Fiber Laser for superior results.
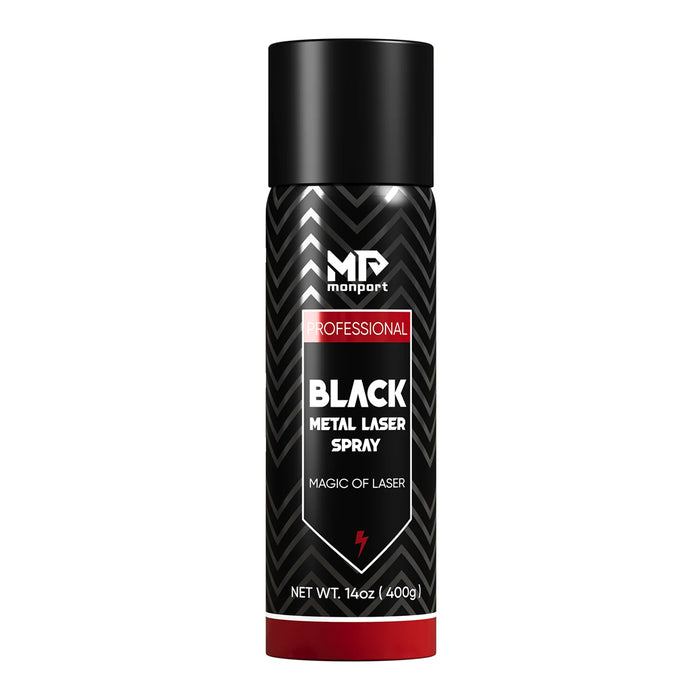
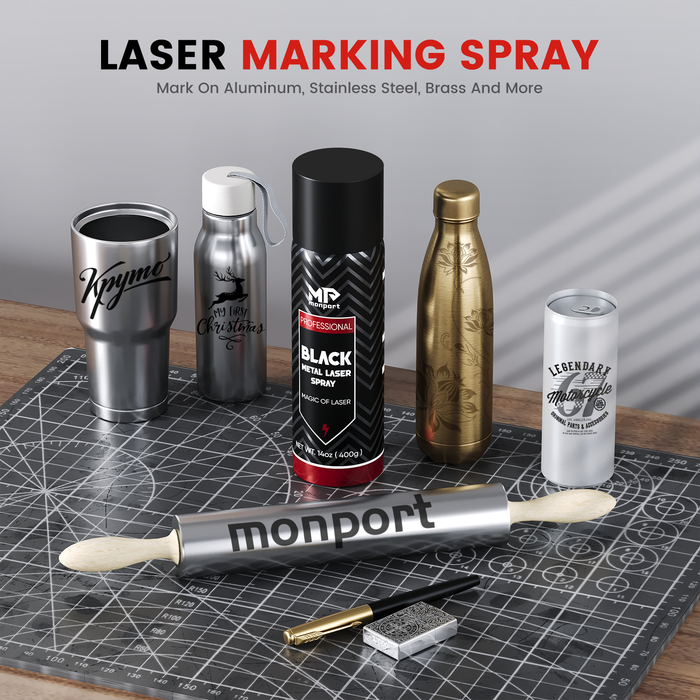
Black Laser Marking Spray
Why Choose the Monport 60W MoPA Fiber Laser?
The Monport 60W MoPA Fiber Laser Engraver stands out for its blend of power, precision, and user-friendly features:
- 60W Power Output – Enables fast, deep engraving on metals
- Advanced Galvanometer – Ensures high-speed precision and stability
- Red Light Preview System – Helps you align designs accurately
- Versatile Software Support – Works seamlessly with EzCad2
Limited Time Offer: Use code VIP50 or BESTMP10 at checkout – Click here to shop!
Understanding MoPA Fiber Laser Parameters
To achieve exceptional engraving results, it's crucial to understand the interplay between various laser parameters and material test file mopa laser. Here are the key ones to consider:

- Pulse Width: This defines the laser pulse duration, impacting engraving depth and detail. Shorter pulses result in finer details but shallower engravings, while longer pulses create deeper engravings with less intricate details.
- Peak Power: The maximum power delivered during a pulse, influencing material ablation (removal) and engraving depth. Higher peak power equates to deeper engravings.
- Average Power: The overall laser power output, affecting engraving speed and overall processing time. Higher average power allows for faster engraving.
- Scan Speed: The speed at which the laser beam travels across the material surface. Lower scan speeds create deeper engravings, while higher speeds result in shallower marks but faster engraving times.
- Frequency: The number of laser pulses delivered per second, also impacting engraving speed and depth. Higher frequencies lead to faster engraving but potentially shallower results.
Step-by-Step Guide to Setting MOPA Fiber Laser Engraver Parameters
Step 1: Material test file mopa laser

The right material test file is essential when adjusting fiber laser settings. Metals such as stainless steel, aluminum, and brass require different configurations to achieve optimal results.
Step 2: Software Setup

Most MOPA fiber laser engraver utilize design software like LightBurn. Here, you can import your engraving design, set the origin point (starting location), and access parameter settings for black laser marking spray.
Step 3: Initial Parameter Selection

A good starting point is crucial. Refer to your laser manufacturer's recommendations or online resources for suggested parameter ranges based on material type. Begin with conservative settings (lower power, slower speeds) to avoid damaging the material during initial testing.
Step 4: Test Engraving and Parameter Adjustments

It's essential to perform test engravings on scrap material before engraving your final project. Analyze the results and make small adjustments to the parameters. For instance, if the engraving is too shallow, increase the power or decrease the scan speed slightly. Remember, small adjustments lead to more precise control when using black laser marking spray.
Step 5: Saving Your Settings

Once you find the ideal fiber laser settings, save them for future use. This streamlines your workflow and ensures consistent results.
Additional Tips and Considerations
- Safety First: MOPA fiber laser engraver emit powerful beams. Always wear laser safety glasses and operate the machine in a well-ventilated area.
- Machine Maintenance: Regular cleaning of the laser lens and proper ventilation system maintenance ensure optimal performance.
- Finding Recommended Parameters: Consult manufacturer guides, online communities, or experiment with test engravings to find the perfect settings for various materials.
Deep Dive into Monport 60W MOPA Fiber Laser Features
This section provides a more in-depth exploration of the Monport 60W MOPA Fiber Laser's functionalities, highlighting its strengths and potential benefits as a laser machine for your engraving endeavors with black laser marking spray.
Unlocking the Power of 60 Watts:
The 60W MOPA Fiber laser core of the Monport engraver delivers exceptional performance. This translates to:

- Faster Engraving Speeds: Compared to lower wattage models, the 60W MOPA Fiber Laser allows for quicker completion of projects, ideal for high-volume production or time-sensitive tasks.
- Deeper Engravings: The increased power enables deeper marking on metals, perfect for applications requiring permanent markings or creating distinct design elements.
- Wider Material Compatibility: With its higher power output, the Monport 60W MOPA Fiber Laser can effectively engrave on a broader range of materials, including thicker metals and some non-metallic materials like certain plastics.
Precision Meets Performance:
Beyond raw power, the Monport 60W MOPA Fiber Laser boasts features that enhance engraving accuracy and control:
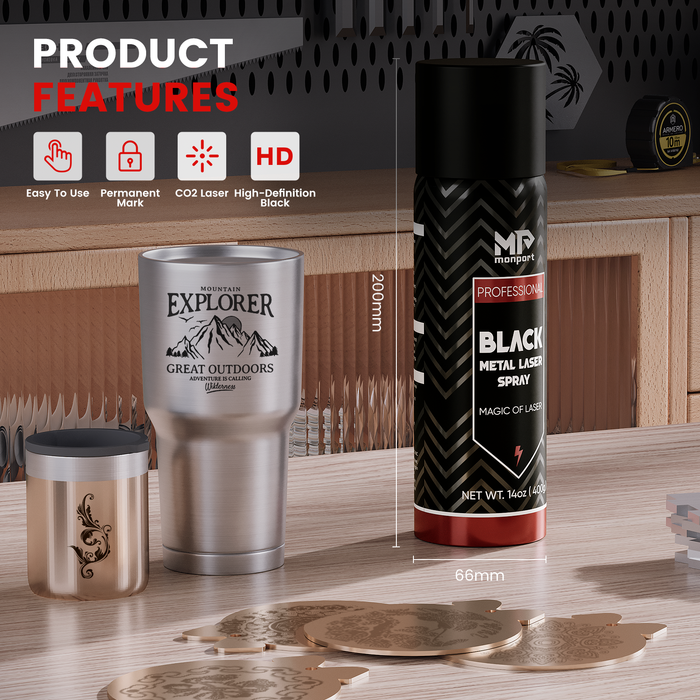
- High-End Galvanometer: The Sino-Galvo SG7110 galvanometer ensures exceptional laser beam positioning and stability. This translates to intricate details and sharp lines in your engravings.
- Easy Focus with Red Light Preview: The three-point red light alignment system simplifies focusing the laser beam for precise engraving placement. Additionally, the red light preview function allows you to visualize the engraving area before initiating the process.
Safety and User-Friendliness:
The Monport 60W MOPA Fiber Laser prioritizes safety and ease of use:
- Enhanced Security Features: The access key prevents unauthorized operation, while the large emergency stop button ensures a quick safety response if needed.
- Versatile Software Compatibility: Compatibility with EzCad2 software allows for intuitive design import, parameter adjustments, and overall project management.
Incorporating the Monport 60W MOPA Fiber Laser into Your Workflow
Whether you're a seasoned engraver or just starting, the Monport 60W MOPA Fiber Laser offers a powerful and versatile laser machine solution for your projects. Its combination of high-performance features, user-friendly design, and safety considerations make it a compelling choice for various applications with black laser marking spray.

- Professional Prototyping and Product Design: Create detailed prototypes and mockups with precise markings on various materials.

- Personalized Giftware and Awards: Engrave names, logos, or intricate designs on metal, plastic, or wood for unique and personalized gifts or awards.

- Industrial Marking and Identification: Achieve permanent and legible markings on tools, parts, or other industrial applications.
By understanding the capabilities of the Monport 60W MOPA Fiber Laser Engraver and effectively utilizing its features as a laser machine for material test file mopa laser, you can unlock new creative possibilities and elevate the quality and efficiency of your engraving projects.
Enhancing Results with the Monport 60W MOPA Fiber Laser
The Monport 60W MOPA Fiber Laser is an exceptional metal engraving machine with advanced features that boost precision and efficiency.
Key Features
-
60W Power Output: Ensures faster engraving and deeper markings on metals.
-
High-End Galvanometer: Guarantees precise beam control, enhancing engraving accuracy.
-
Red Light Preview: Helps visualize engraving areas before starting the process.
-
Versatile Software Support: Compatible with EzCad2 for seamless project management.
FAQs
Q1: What’s the best starting setting for stainless steel engraving?
A: Try 55% power, 1000 mm/s speed, 25kHz frequency. Adjust based on your specific result.
Q2: Can I use black laser marking spray with this machine?
A: Absolutely! It enhances visibility and creates dark, rich marks on metal surfaces.
Q3: Do I need a material test file for every project?
A: Yes. Even similar materials can react differently—testing avoids costly mistakes.
Q4: Can the Monport 60W engrave non-metals?
A: Yes, some plastics and coated materials can be engraved depending on their composition.
Q5: Is EzCad2 software included?
A: Yes, EzCad2 comes with the machine and supports full control over laser settings.
Key Takeaways
-
Mastering fiber laser settings ensures optimal performance in your metal engraving machine.
-
Testing parameters on scrap material prevents costly mistakes.
-
The Monport 60W MOPA Fiber Laser's advanced features enhance precision and speed.
Conclusion
Mastering your MoPA fiber laser engraver is all about understanding the settings, experimenting, and making use of the right tools—like black laser marking spray and material test files.
The Monport 60W MoPA Fiber Laser Engraver offers a powerful, precise, and safe solution whether you’re a pro or just getting started. Its robust features, combined with smart software integration, make it ideal for metal engraving, product customization, and more.
- Ready to level up your engraving game?
- Use code BESTMP10 at checkout – Click here to get your Monport 60W MOPA Laser now!


