Engraving on leather is a timeless craft that blends artistry with functionality, producing beautiful and personalized pieces that can range from wallets to book covers. Whether you are a beginner or a seasoned crafter, understanding the process and utilizing the right tools is crucial. This guide will delve into the nuances of engraving on leather and recommend the Monport 40W CO2 laser engraver for leather as a top choice for achieving precise and professional results.
Introduction to Engraving on Leather

Engraving on leather has gained popularity due to its ability to create intricate designs and personalized items that are both unique and durable. The technique enhances the aesthetic appeal of leather goods, making them perfect for gifts, fashion, and functional accessories. If you're considering venturing into this craft, the first question that arises is: which engraver for leather should you use? This guide aims to answer that question and provide a detailed roadmap for mastering leather engraving.
Why Choose Engraving on Leather?
Unlock Big Savings at Monport Laser! Use code BESTMP10 at checkout for an exclusive discount – Click here to shop now!
Leather is a versatile and durable material that lends itself well to engraving. Here are a few reasons why engraving on leather is a favored craft:
- Personalization: Engraving allows for high levels of customization, from names and initials to complex designs and logos.
- Durability: Leather items are long-lasting, and engraving adds a permanent mark that withstands wear and tear.
- Aesthetic Appeal: The contrast between the engraved design and the natural texture of leather creates a striking visual effect.
Getting Started with Leather Engraving

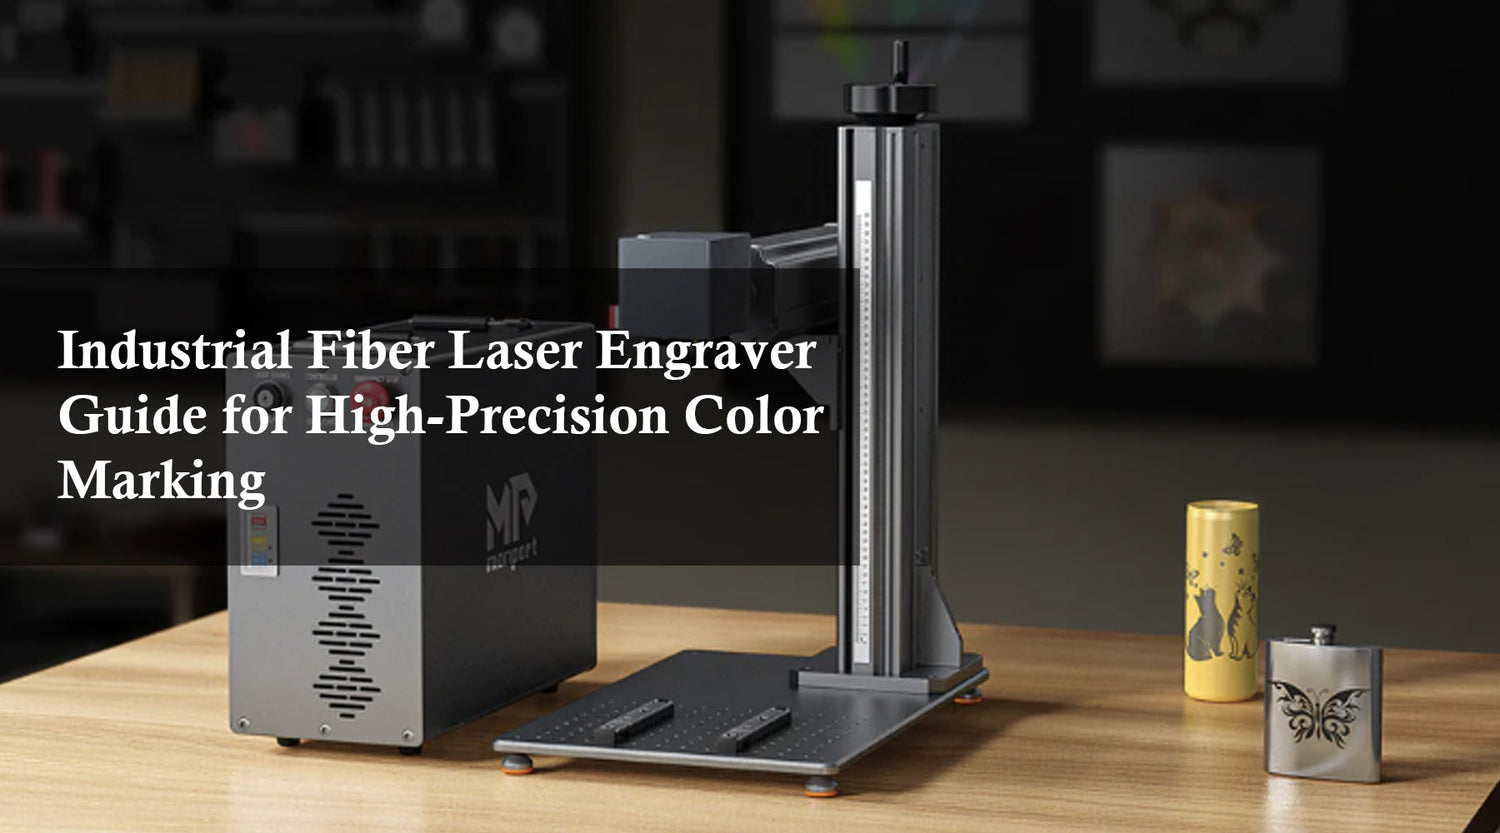
To start your journey into leather engraving, you'll need to choose the right tools and set up your workspace. The Monport 40W CO2 laser engraver is highly recommended for its precision and ease of use.
Choosing the Right Engraver for Leather
- Monport 40W CO2 Laser Engraver: This engraver for leather is ideal due to its versatility, precision, and user-friendly interface. It can handle various types of leather and produce intricate designs with ease.
Setting Up Your Workspace
- Safety First: Ensure your workspace is well-ventilated as laser engraving can produce fumes. Always wear protective gear such as safety goggles.
- Stable Surface: Set up your laser engraver on a stable, flat surface to avoid any movement during the engraving process.
Preparing Your Leather for Engraving
Proper preparation of the leather is crucial to achieving the best results. Here’s how to get your leather ready for engraving:
- Clean the Leather: Wipe the leather surface with a damp cloth to remove any dust or oils. This ensures a clean engraving without obstructions.
- Test Engraving: Perform a test engraving on a scrap piece of leather to determine the best settings for your design.
- Secure the Leather: Place the leather flat on the engraving bed and secure it to prevent any movement.
Designing for Leather Engraving
Creating a design that translates well onto leather requires some planning. Here’s how to approach the design phase:
- Use Vector Graphics: Design your artwork using vector graphics software such as Adobe Illustrator or CorelDRAW. Vector files ensure sharp and precise engravings.
- Adjust for Leather Texture: Keep in mind the texture of the leather when designing. Fine details might not show up as well, so bold and clear lines are recommended.
- Positioning: Properly position your design within the engraving software, ensuring it fits well on the leather piece.
Engraving Process with Monport 40W CO2 Laser Engraver
Now that your leather is prepared and your design is ready, it's time to start the engraving process. Follow these steps for optimal results:
- Power Up: Turn on your Monport 40W CO2 laser engraver and connect it to your computer.
- Load the Design: Import your design into the laser engraver’s software. Adjust the settings for power, speed, and focus based on your test engravings.
- Focus the Laser: Properly focus the laser to ensure crisp and accurate engravings. This is crucial for achieving high-quality results on leather.
- Start Engraving: Begin the engraving process. Monitor the engraver closely to ensure it is operating correctly and the design is being accurately transferred onto the leather.
- Post-Engraving Care: Once the engraving is complete, carefully remove the leather piece and clean off any residue. Inspect the design for accuracy and quality.
Advanced Techniques and Tips
As you become more comfortable with engraving on leather, you can experiment with advanced techniques to create more intricate and detailed designs.
Multi-Layer Engraving
- Depth Variation: Experiment with different depths of engraving to add dimension and texture to your designs.
- Layering Colors: Combine engraving with leather dyeing techniques to create multi-colored designs that stand out.
Combining Engraving with Other Crafts
- Leather Stamping: Use stamping tools alongside your engraver for leather to add additional elements and textures to your pieces.
- Sewing and Embroidery: Integrate engraved leather pieces into larger projects like bags or jackets, combining engraving with sewing and embroidery.
Conclusion
Engraving on leather opens up a world of creative possibilities, from personalized gifts to intricate art pieces. Using a reliable and precise tool like the Monport 40W CO2 laser engraver ensures that your designs are executed flawlessly, whether you are a beginner or an experienced crafter. By following the steps and tips outlined in this guide, you can master the art of leather engraving and produce stunning, custom pieces that are both beautiful and durable.
Engraving on leather is not only a rewarding hobby but also a valuable skill that can be applied in various contexts, from personal projects to business applications. Embrace the craft, experiment with designs, and let your creativity shine through each engraved piece of leather you create.


