

Introduction
If you're looking for an impressive and precise way to create personalized designs on glass, laser engraving is the perfect solution. The Monport 130W Built-in Chiller CO2 Laser Engraver & Cutter is a state-of-the-art piece of machinery that lets you achieve beautiful and eye-catching results. In this guide, we'll show you how to engrave glass with laser, how to choose the best glass for laser engraving, how laser rotary attachments work in Monport, and creating the laser engraving design itself.


How to Engrave Glass Cups in Monport
REQUIREMENTS
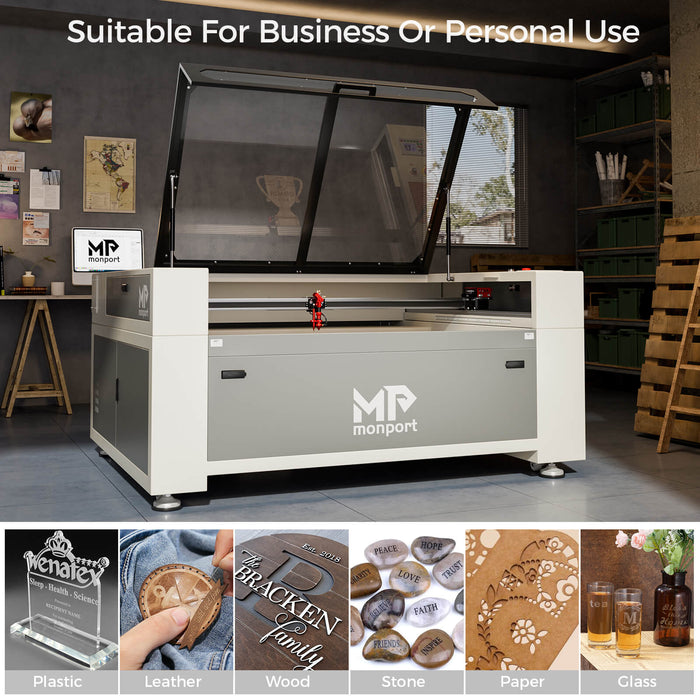
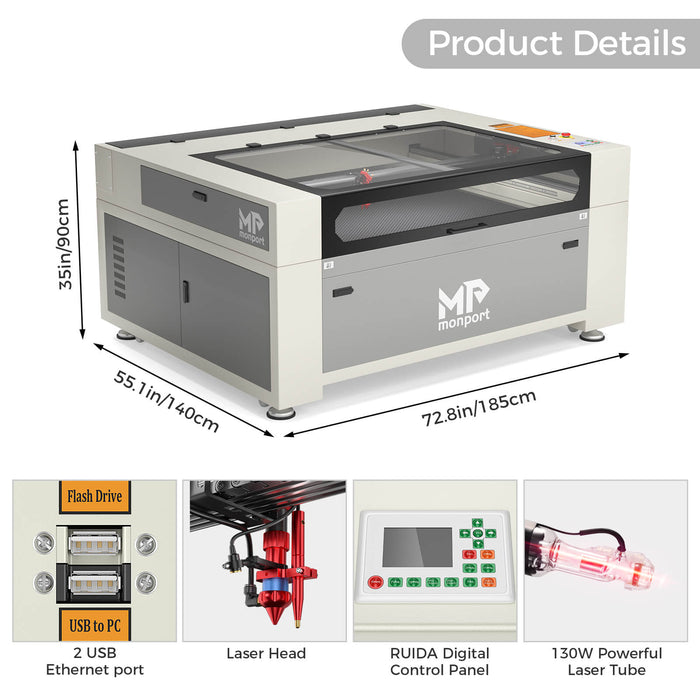
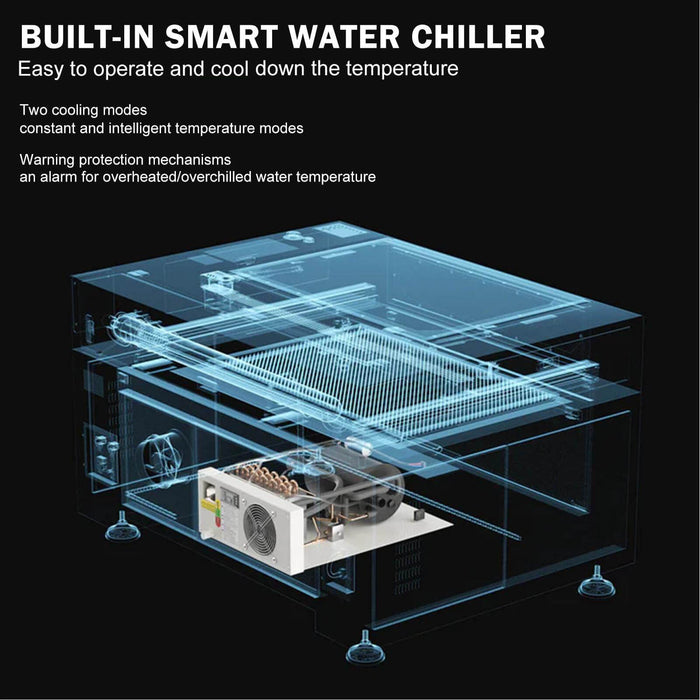
- Monport 130W Built-in Chiller CO2 Laser Engraver & Cutter
- Clear, uncoated glass cups
- Appropriate software for designing the engraving
- Soft cloth for wiping the glasses, and air compressors

STEPS
- Simplify the rim
First, clean the glass cups thoroughly with a mild glass cleaner and a lint-free cloth to create a pristine surface. Then, remove any debris or stickers from the glasses. We suggest cleaning the glass with an air compressor as well so that no residue remains behind.
- Place the Glasses in the Laser
Place the glasses in the laser bed and secure them using the appropriate method. Ideally, clamps or a platform should hold them so that they don't move during the process.
- Prepare the Design
Next, prepare the design you would like laser engraved on your glass cups. Use the design software of your choice and upload it to the Monport software without any formatting issues. Using the Monport machine's user-friendly software, adjust the size, position, and orientation to fit the dimensions of your glass cups.
- Testing
Before you start the engraving process, perform a test run on a piece of scrap glass. This will help you ensure that the laser settings are correct and that you are comfortable with its configuration. Once the laser settings are adjusted, run it to ensure that the engraving looks exactly like what you want.
- Engraving the Glass Cups
After the test run, get ready to start the engraving process. During this, monitor the procedure and make corrections to the settings, especially if the engraving gets too deep on the glass cups.
- Polishing
Once the engraving process is complete, ensure that the glasses are cleaned up to remove any residue or debris using a soft cloth or compressed air. Consider using a glass cleaner for a polish- looking, professional finish.
How to Choose the Best Glass for Laser Engraving
When it comes to choosing the right glass for engraving, the key is to select clear and uncoated glass. Frosty, cloudy, or colored glasses are not the ideal choices for laser engraving. They inevitably result in blurry or indistinct designs and might need more laser power to ensure clarity.
Here are some things to keep in mind when selecting a glass for engraving:
- The glass should be clear and free of any coating or frost.
- The thicker the glass, the better. It is easier to control the laser settings and depth on thicker glass than thinner glass.
- Look for glass with a smooth surface without any imperfections.

How Laser Rotary Attachments Work in Monport
A rotary attachment is a tool used to engrave cylindrical objects on a laser engraving machine. They allow for engraving on objects like cups, bottles, and vases without much difficulty. The Monport 130W Built-in Chiller CO2 Laser Engraver & Cutter also boasts of a rotary attachment that eases the process of engraving on cylindrical objects.
The laser rotary attachment has rollers that allow the glasses to rotate during the engraving process without causing any disturbance to the laser head's focus. The glasses rotate at a fixed speed and a specific diameter depending on the size of the glasses. The rotary scan feature ensures that the laser engraving is done on the entire surface of the glasses hence ensuring a uniform depth.
Creating the Laser Engraving Design using the Monport 130W Built-in Chiller CO2 Laser Engraver & Cutter
The design stage is critical in creating a perfect laser engraving job. Consider the design guidelines below when creating a laser engraving design:
- Always use vector design software for the design. Examples include Adobe Illustrator, CorelDRAW, or Inkscape.
- Avoid using light greys in your design. Light greys don't have enough contrast for the laser which may lead to undesirable outcomes.
- Use a separate layer for the parts that you don't want to be engraved. Naming it "NO ENGRAVE" will suffice.
- Remember to use 100% black for the engraving. Anything less may result in your laser not firing.
Takeaways: Key Points to Remember
- Laser engraving on glass is a precise and versatile technique that allows for personalized designs and customizations.
- The glass that you choose for laser engraving should be clear and uncoated.
- Monport 130W Built-in Chiller CO2 Laser Engraver & Cutter has a rotary attachment feature that enables engraving on cylindrical objects.
- Use vector design software when creating your design, and remember to use 100% black for your engraving.
Conclusion
Laser engraving on glass is a fantastic method for creating personalized items. With Monport 130W Built-in Chiller CO2 Laser Engraver & Cutter, engraving glass has never been easier. Select the right glass, take precautions, prepare your designs and test before completing the process. With adequate knowledge of the necessary steps, you are now set to make some perfect glasses with laser-engraved designs.


